Creating Beats
The beat board helps you organize your screenplay into acts and beats. Create beats to plan your story structure and link them to script elements for better organization.
Understanding the Beat Board
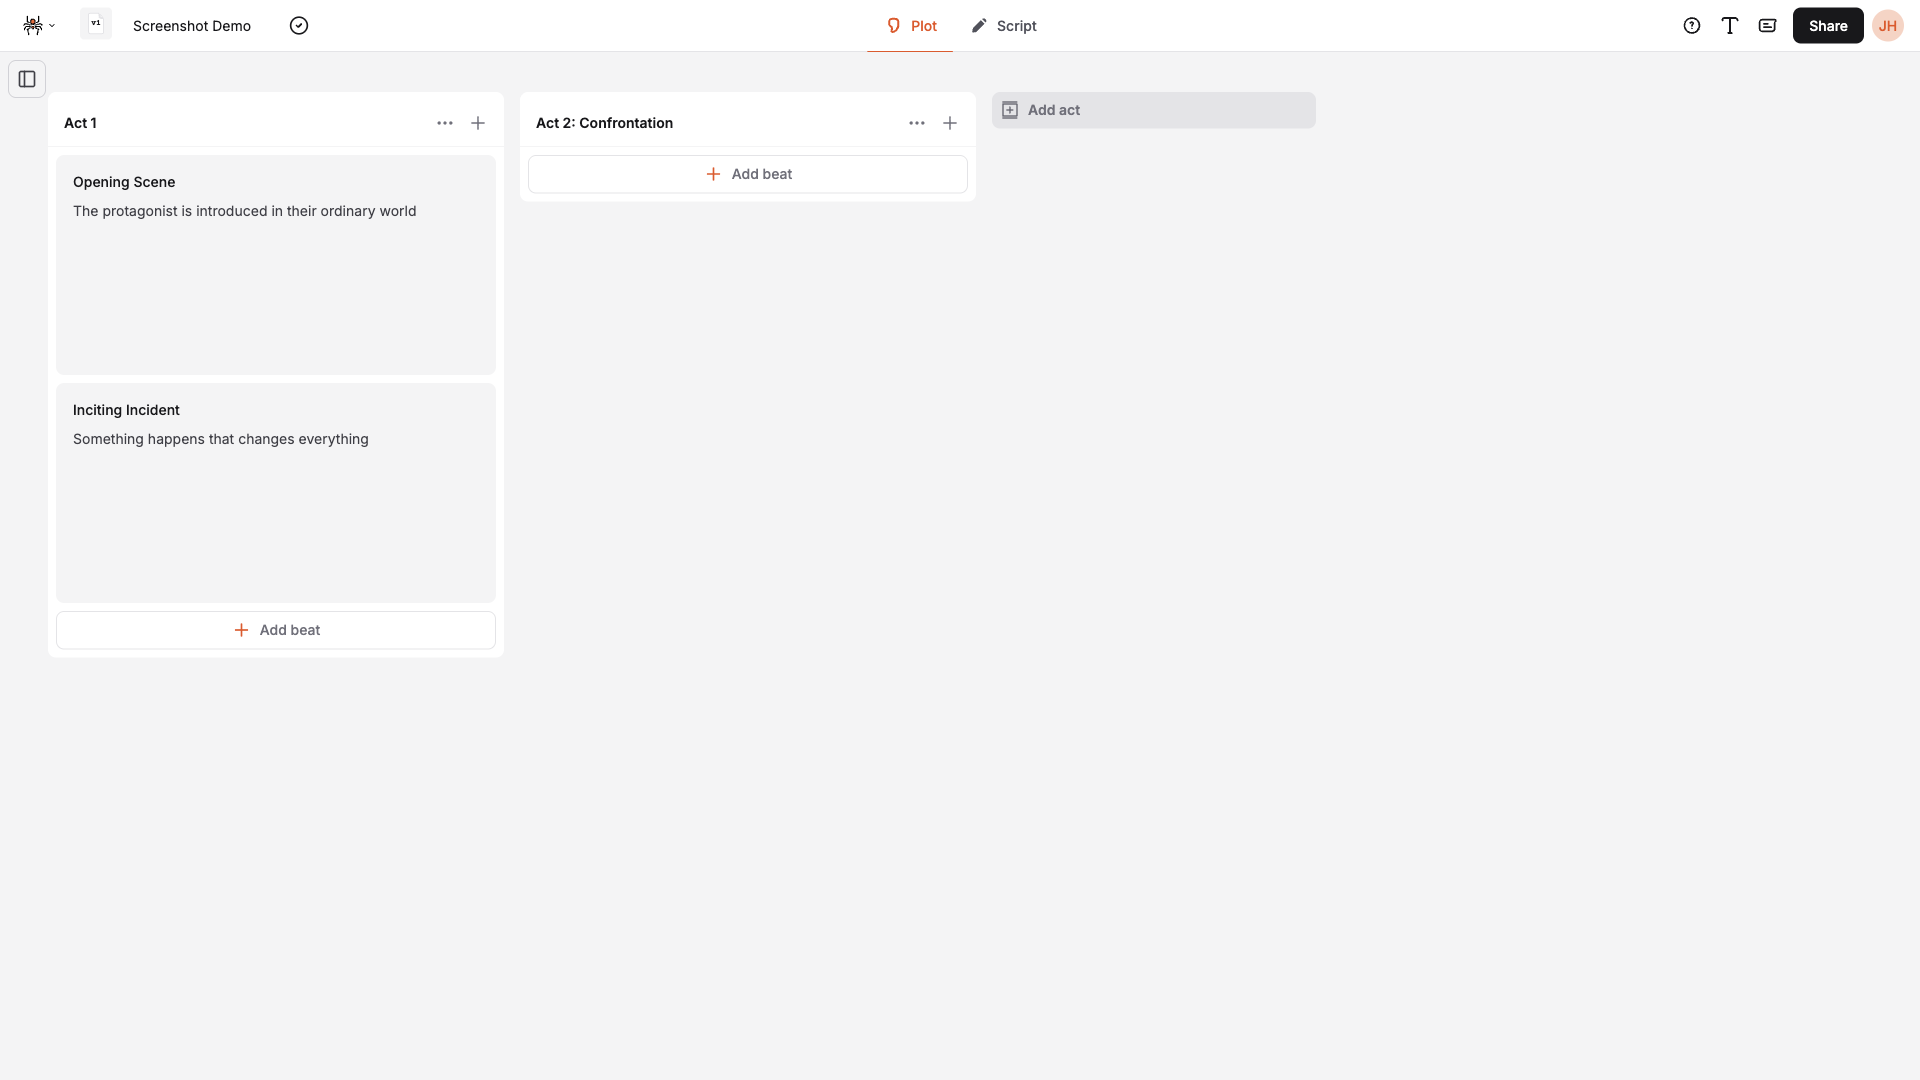
Section titled “Understanding the Beat Board”The beat board provides a visual way to organize your story:
- Acts: Major story divisions (typically 3-5 acts)
- Beats: Individual story moments within each act
- Drag & Drop: Reorder beats by dragging them between acts
- Script Linking: Connect beats to specific script elements
Creating Your First Beat
Section titled “Creating Your First Beat”Step 1: Access the Beat Board
Section titled “Step 1: Access the Beat Board”- Switch to Plot view using the navigation tabs
- The beat board will display your acts and beats
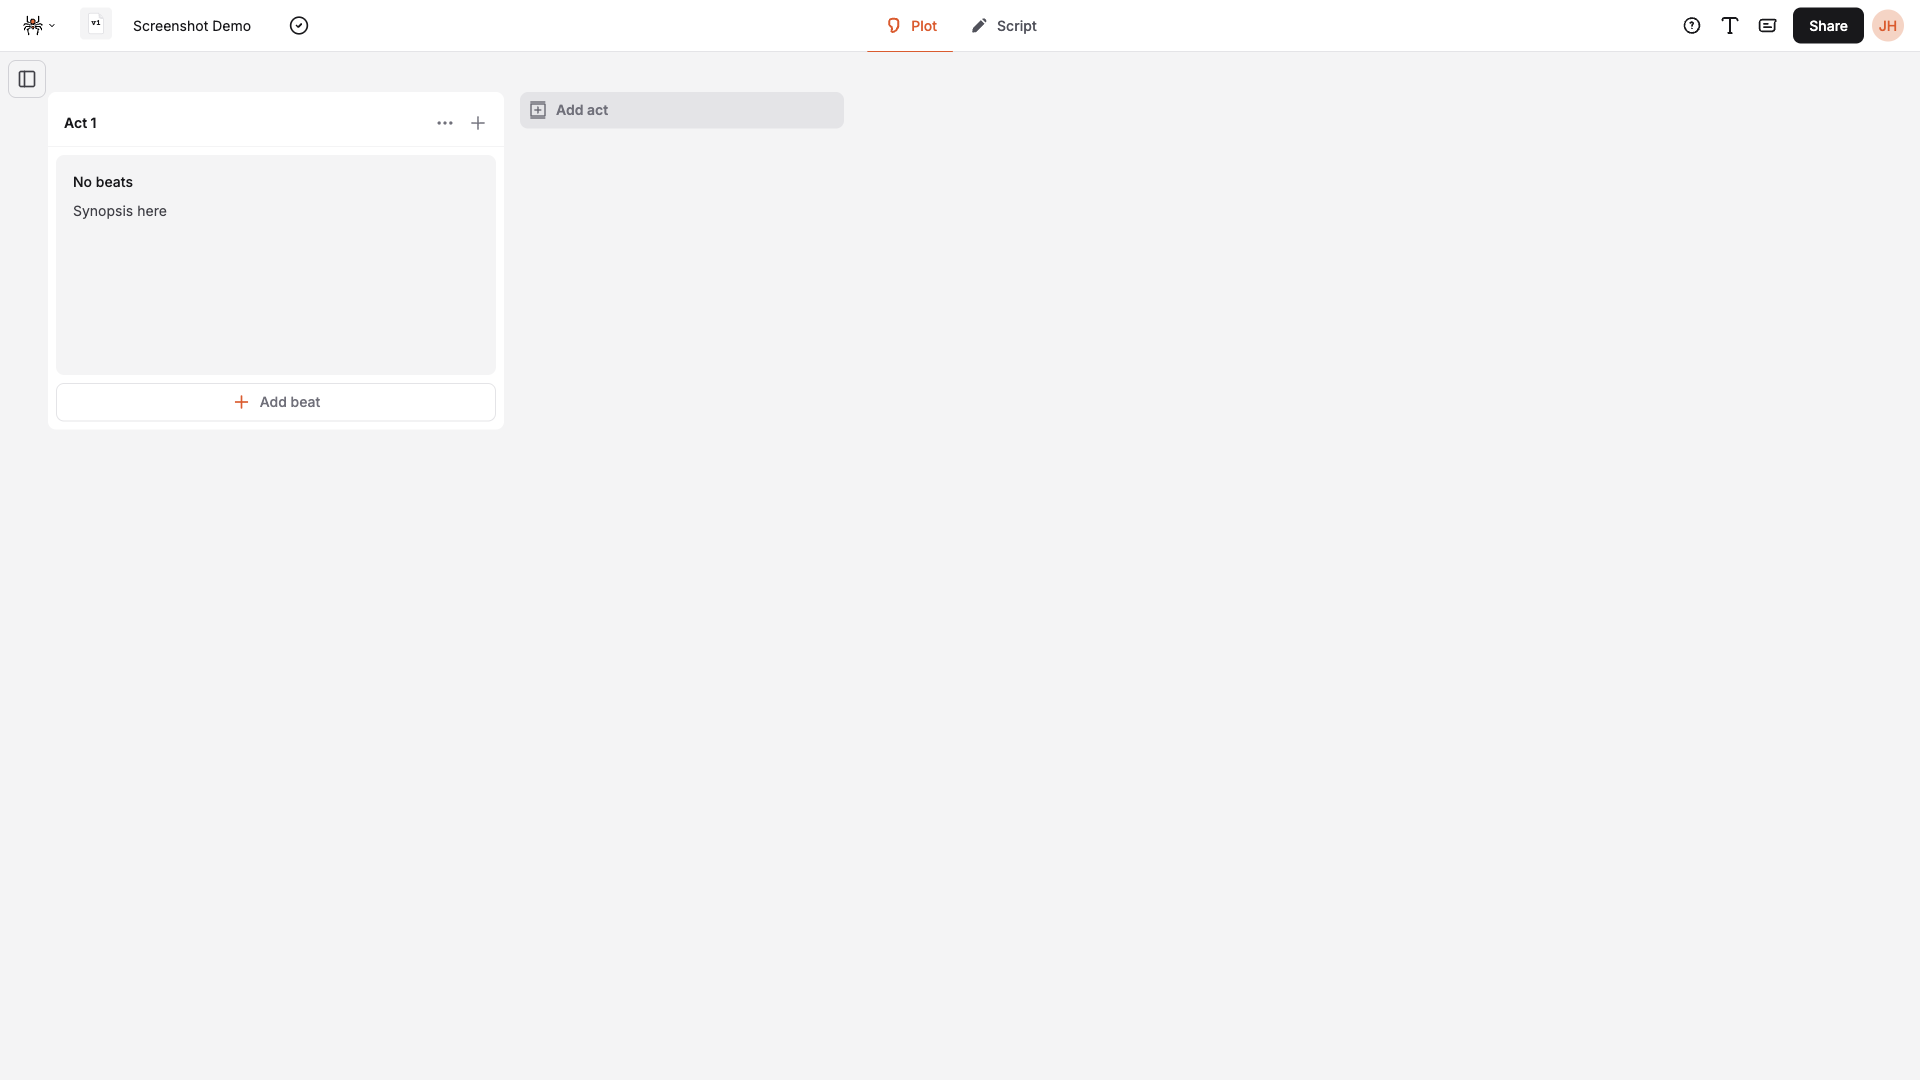
- Your first act is created by default when you start a new project
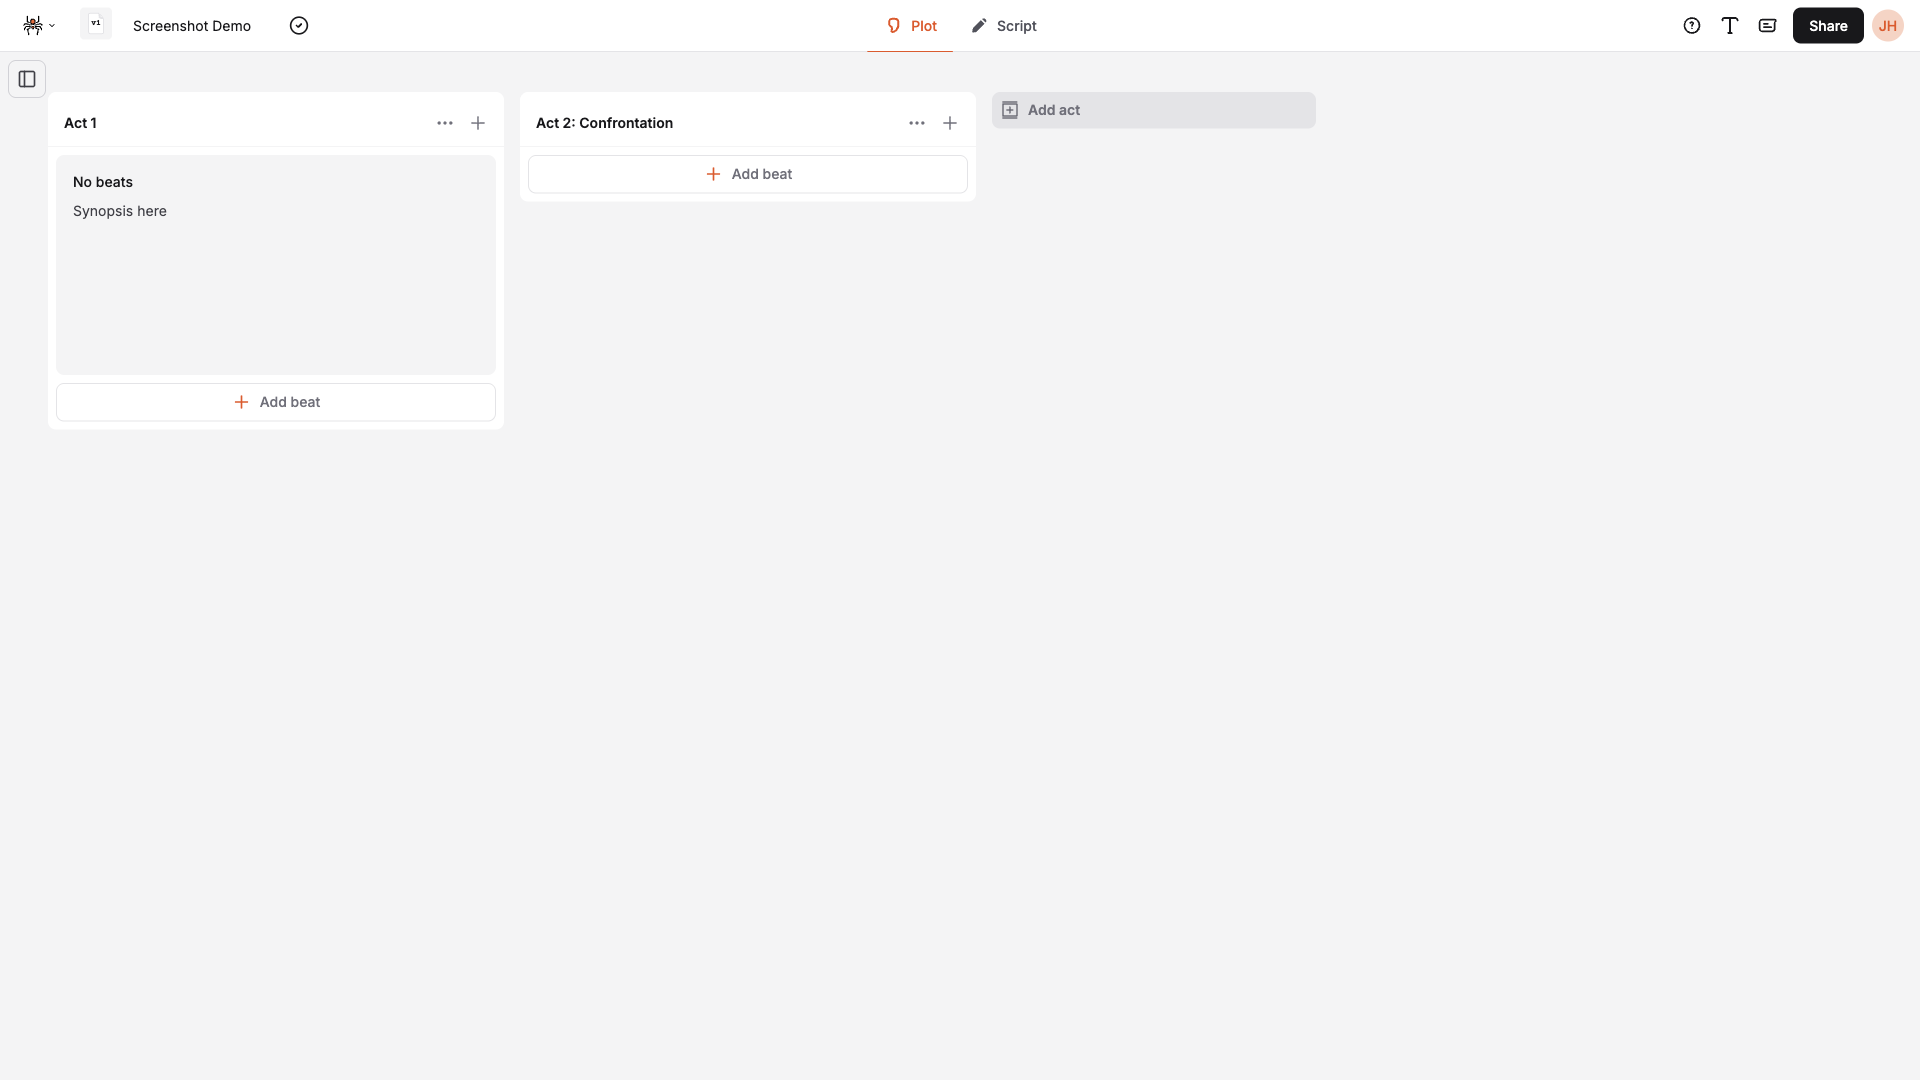
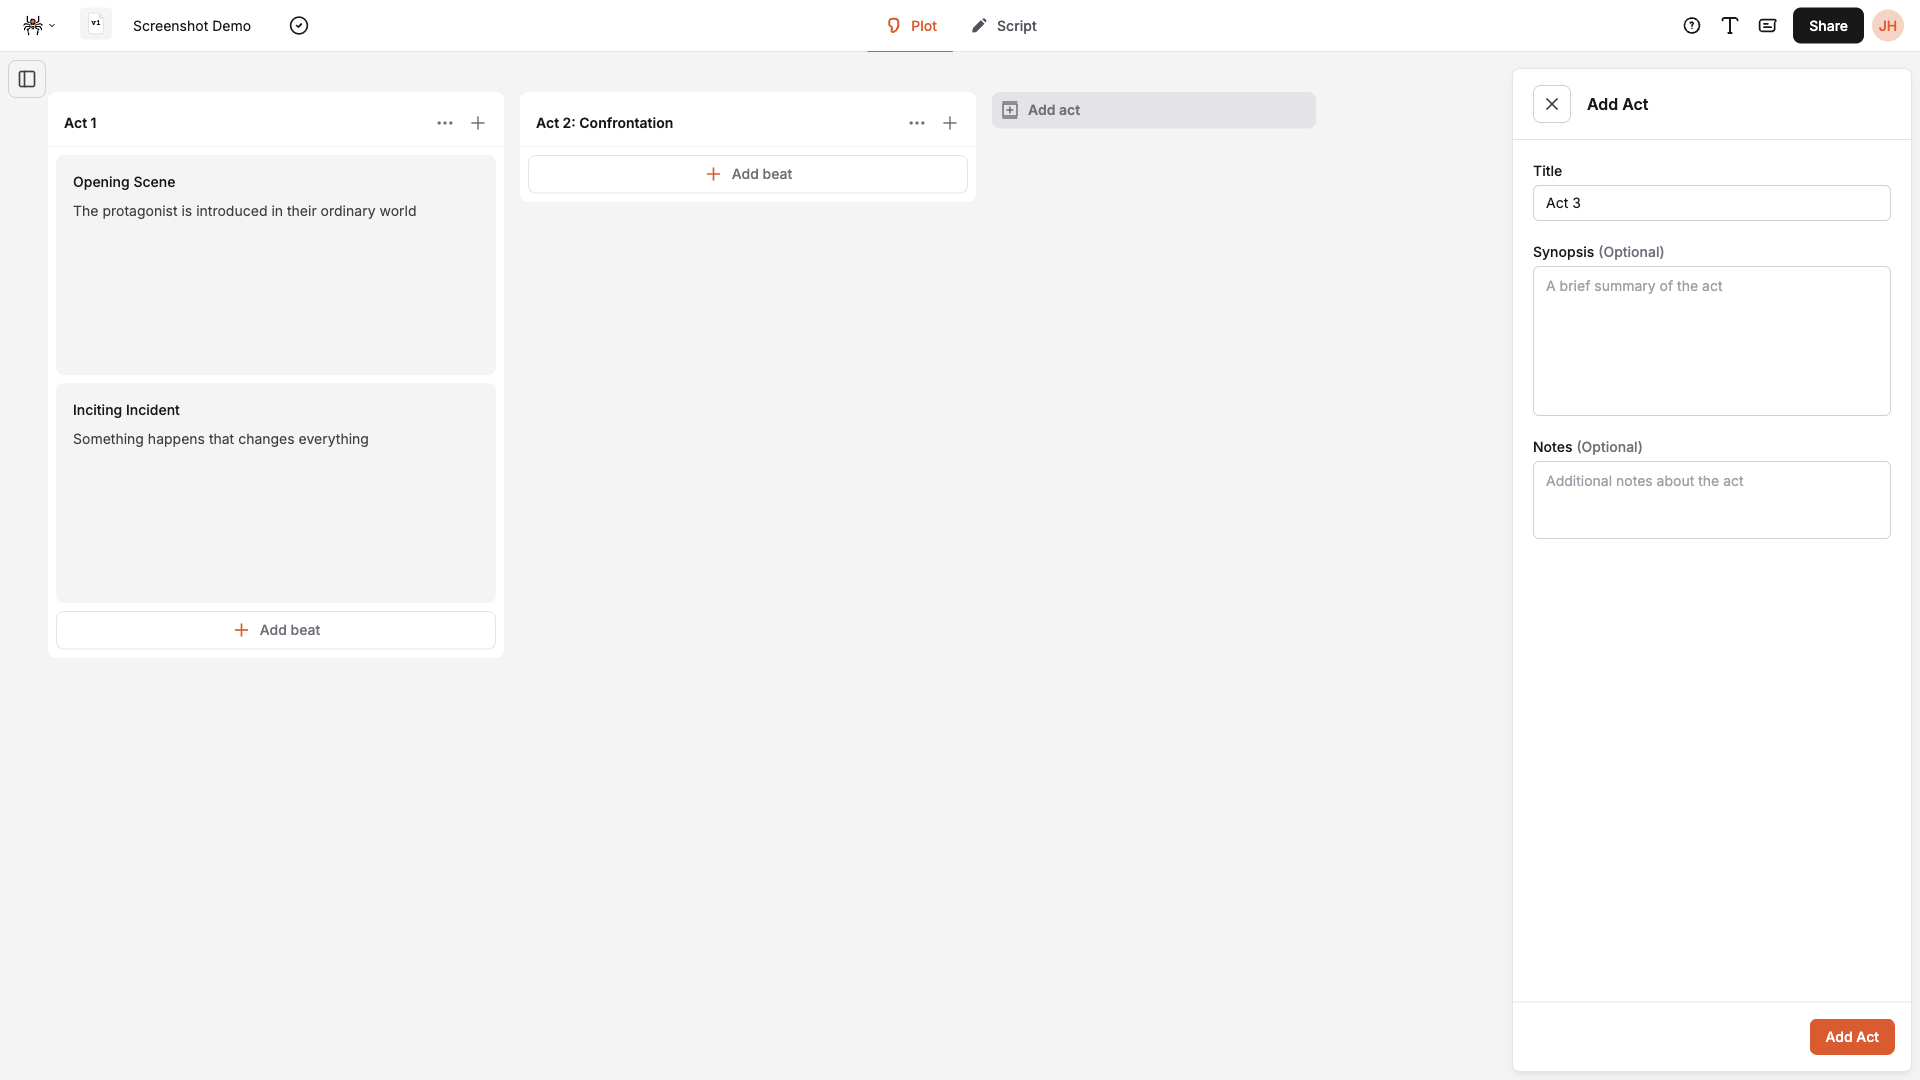
Step 2: Create Additional Acts (if needed)
Section titled “Step 2: Create Additional Acts (if needed)”Since your first act is created by default, you can add more acts as needed:
- Click “Add act” button at the bottom of the beat board
- Enter act details:
- Title: Act name (e.g., “Act 2”, “Confrontation”)
- Synopsis: Brief summary of the act (optional)
- Notes: Additional notes (optional)
- Click “Add Act” to create the act
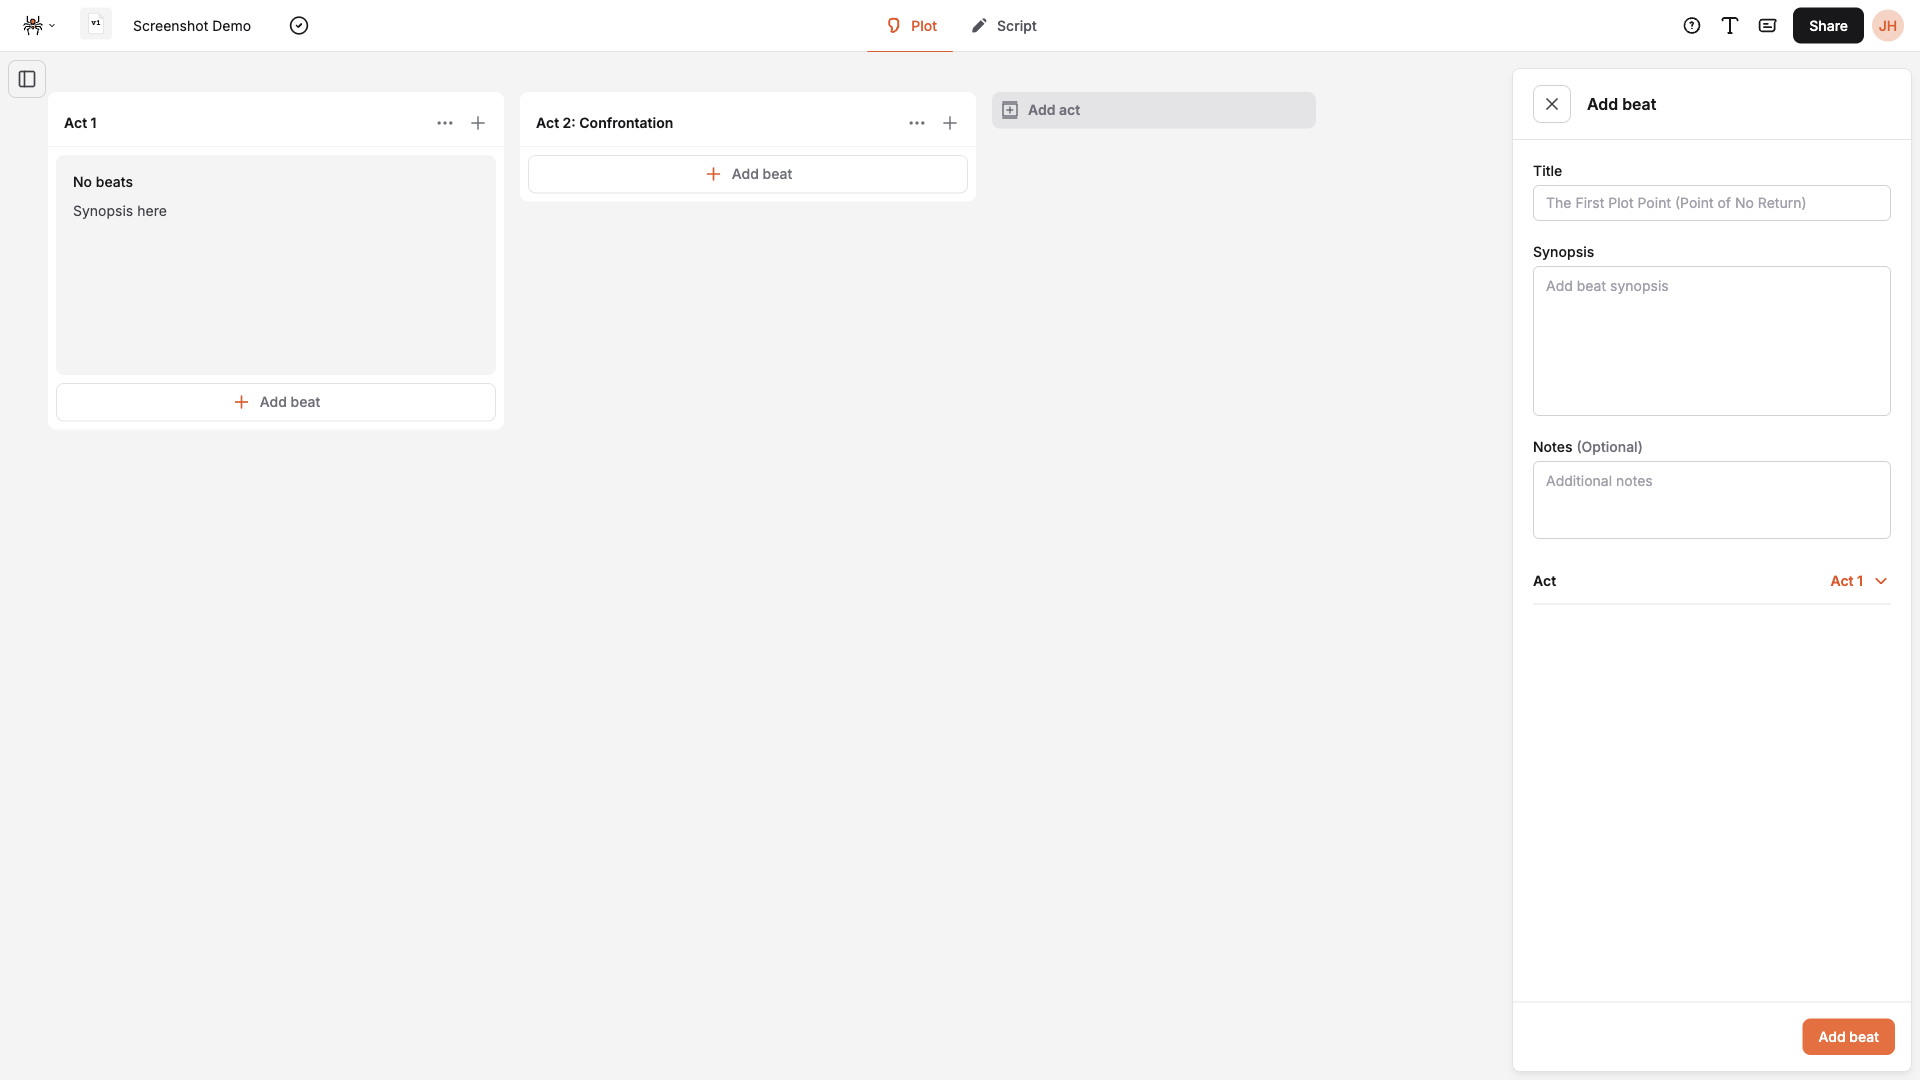
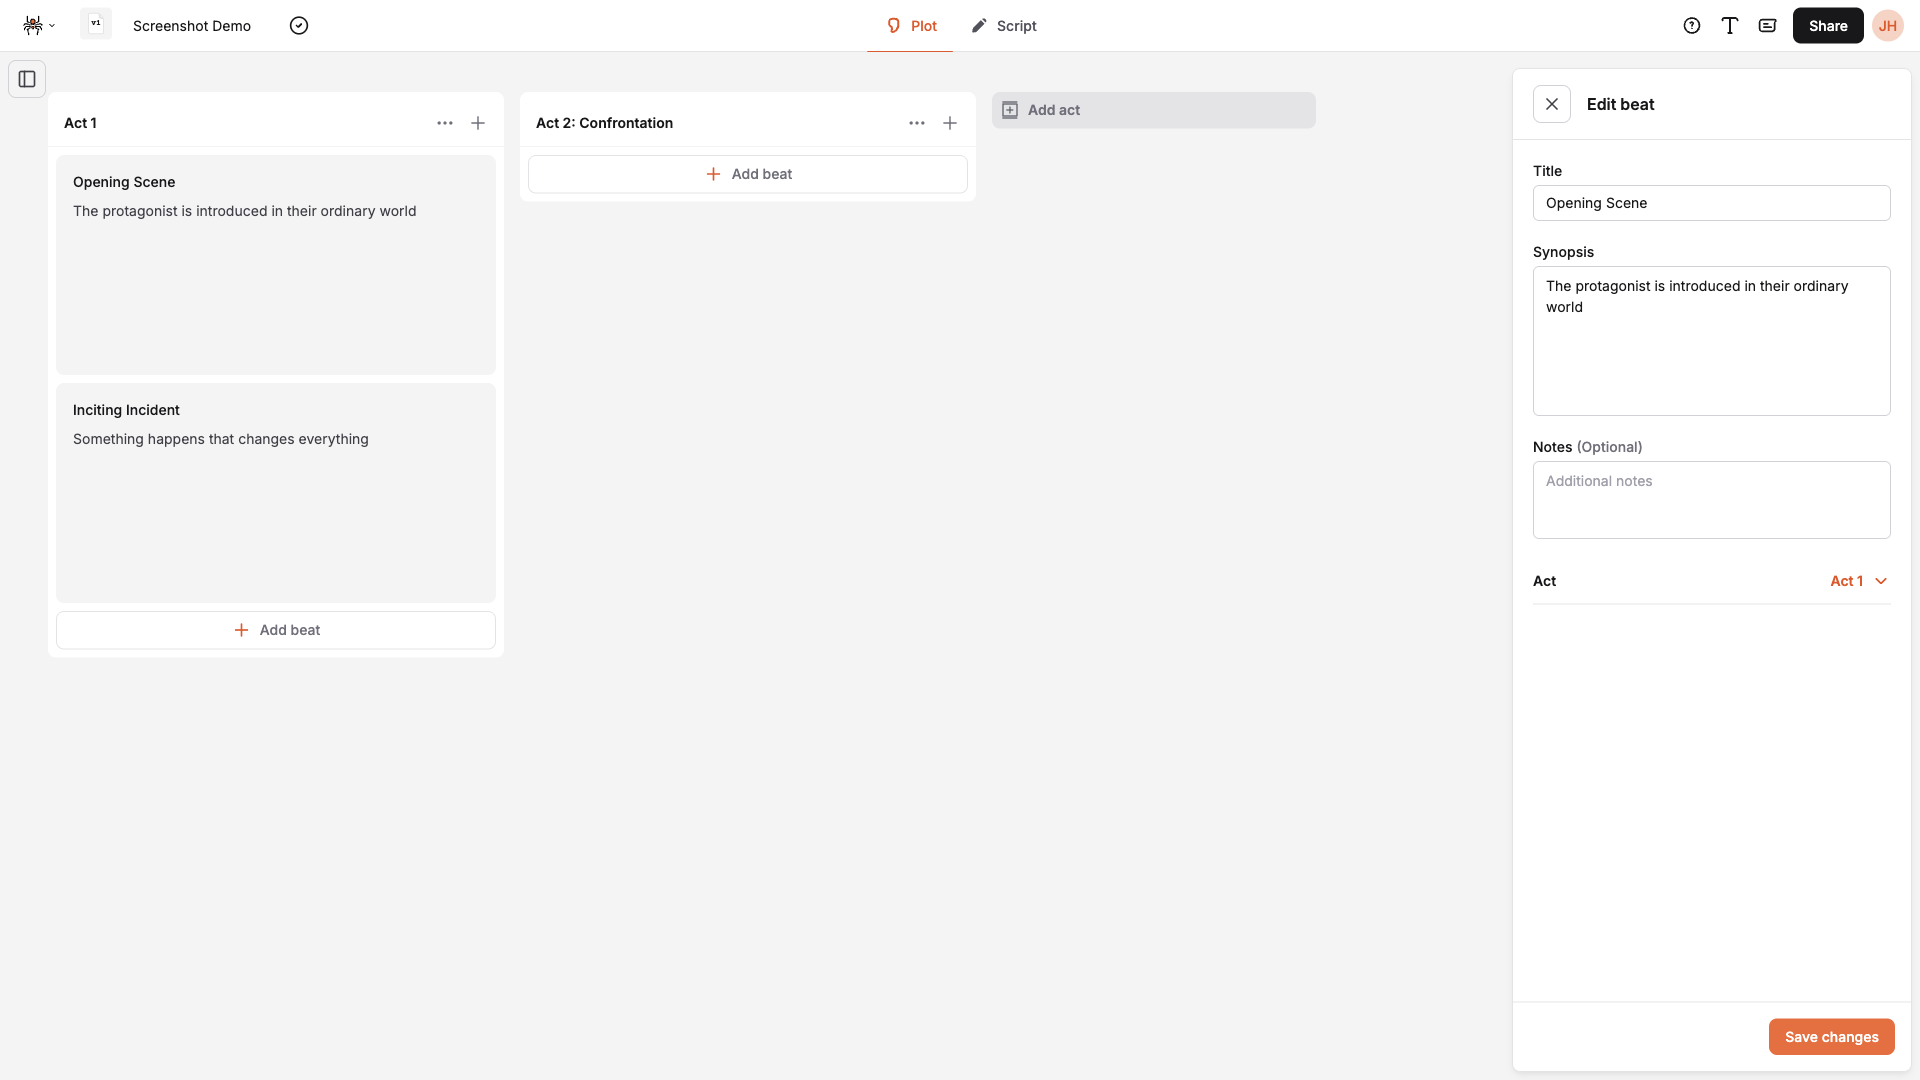
Step 3: Add a Beat
Section titled “Step 3: Add a Beat”- Click “Add beat” button in any act column
- Fill in beat details:
- Title: Beat name (e.g., “Opening Scene”, “Inciting Incident”)
- Synopsis: Description of what happens in this beat
- Notes: Additional notes (optional)
- Click “Add beat” to create the beat
Creating Beats from Script
Section titled “Creating Beats from Script”You can also create beats directly from your script using the Element Menu:
From Action or Scene Elements
Section titled “From Action or Scene Elements”- Focus on an Action or Scene element in your script
- Click the element menu (appears to the left of the element)
- Select “Create new” from the beat options
- Fill in beat details in the beat drawer
- The element is automatically linked to the new beat
Attaching to Existing Beats
Section titled “Attaching to Existing Beats”- Focus on an Action or Scene element in your script
- Click the element menu
- Select “Attach to existing” from the beat options
- Choose a beat from the available list
- The element is linked to the selected beat
Beat Structure
Section titled “Beat Structure”Beat Components
Section titled “Beat Components”Each beat contains:
- Title: Short, descriptive name
- Synopsis: Detailed description of the story moment
- Notes: Additional thoughts or ideas
- Act Assignment: Which act the beat belongs to
- Script Link: Optional connection to a script element
Beat Examples
Section titled “Beat Examples”Setup Beats:
- “Opening Scene”
- “Character Introduction”
- “World Building”
Conflict Beats:
- “Inciting Incident”
- “First Plot Point”
- “Rising Action”
Resolution Beats:
- “Climax”
- “Falling Action”
- “Resolution”
Managing Beats
Section titled “Managing Beats”Editing Beats
Section titled “Editing Beats”- Click on any beat to open the edit drawer
- Modify any field: title, synopsis, notes, or act
- Click “Save changes” to update the beat
Moving Beats
Section titled “Moving Beats”- Drag and drop beats between acts
- Reorder beats within the same act
- Visual feedback shows where the beat will be placed
Deleting Beats
Section titled “Deleting Beats”- Click the menu button (three dots) on a beat
- Select “Delete beat”
- Choose deletion option:
- Delete beat only: Removes the beat but keeps script content
- Delete beat and script: Removes both beat and linked script section
- Confirm deletion
Managing Acts
Section titled “Managing Acts”Creating Acts
Section titled “Creating Acts”- Click “Add act” button (if under 5 acts)
- Enter act information:
- Title: Act name
- Synopsis: Act summary (optional)
- Notes: Additional notes (optional)
- Click “Add Act”
Editing Acts
Section titled “Editing Acts”- Click the menu button on an act header
- Select “Edit act”
- Modify act details
- Click “Save changes”

Deleting Acts
Section titled “Deleting Acts”- Click the menu button on an act header
- Select “Remove act”
- Choose deletion option:
- Remove act only: Keeps beats but removes act structure
- Remove act and beats: Deletes act and all its beats
- Confirm deletion
Beat Board Features
Section titled “Beat Board Features”Visual Organization
Section titled “Visual Organization”- Column layout: Each act is a separate column
- Beat cards: Visual representation of each beat
- Drag indicators: Shows where beats can be dropped

Navigation
Section titled “Navigation”- Horizontal scrolling: Navigate between acts
- Beat indicators: Shows which script elements are linked
- Quick access: Click beats to jump to script sections
Best Practices
Section titled “Best Practices”Beat Creation
Section titled “Beat Creation”- Keep titles short and descriptive
- Write detailed synopses for clarity
- Use consistent naming conventions
- Link beats to script when possible
Story Structure
Section titled “Story Structure”- Follow traditional structure: Setup, Confrontation, Resolution
- Balance acts: Don’t overload one act
- Create clear beats: Each beat should advance the story
- Maintain flow: Ensure beats connect logically
Organization
Section titled “Organization”- Group related beats in the same act
- Use notes for additional context
- Regularly review and update beats
- Keep beats focused on single story moments
Next Steps
Section titled “Next Steps”- Learn about Organizing Acts
- Master Element Menu for quick beat creation
- Explore Script Elements