Element Menu
The element menu appears when you focus on an element in the script editor, providing quick access to element types and beat management features. It’s a contextual menu that adapts based on your current element and cursor position.
Element Menu Overview
Section titled “Element Menu Overview”The element menu appears as a small icon button to the left of the focused element:
- Contextual: Only appears when an element is focused
- Element-specific: Shows the current element type icon
- Quick access: Faster than using the toolbar
- Beat integration: Includes beat management options
Accessing the Element Menu
Section titled “Accessing the Element Menu”When the Menu Appears
Section titled “When the Menu Appears”The element menu appears when:
- An element is focused in the script editor
- Element is valid (not in dual dialogue)
- Not in read-only mode
- Not on mobile devices (hidden on small screens)
Menu Button Location
Section titled “Menu Button Location”- Left side: Positioned to the left of the focused element
- Aligned: Matches the script margin alignment
- Responsive: Adjusts position on different screen sizes
- Non-intrusive: Doesn’t interfere with element focus
Element Switching
Section titled “Element Switching”Available Elements
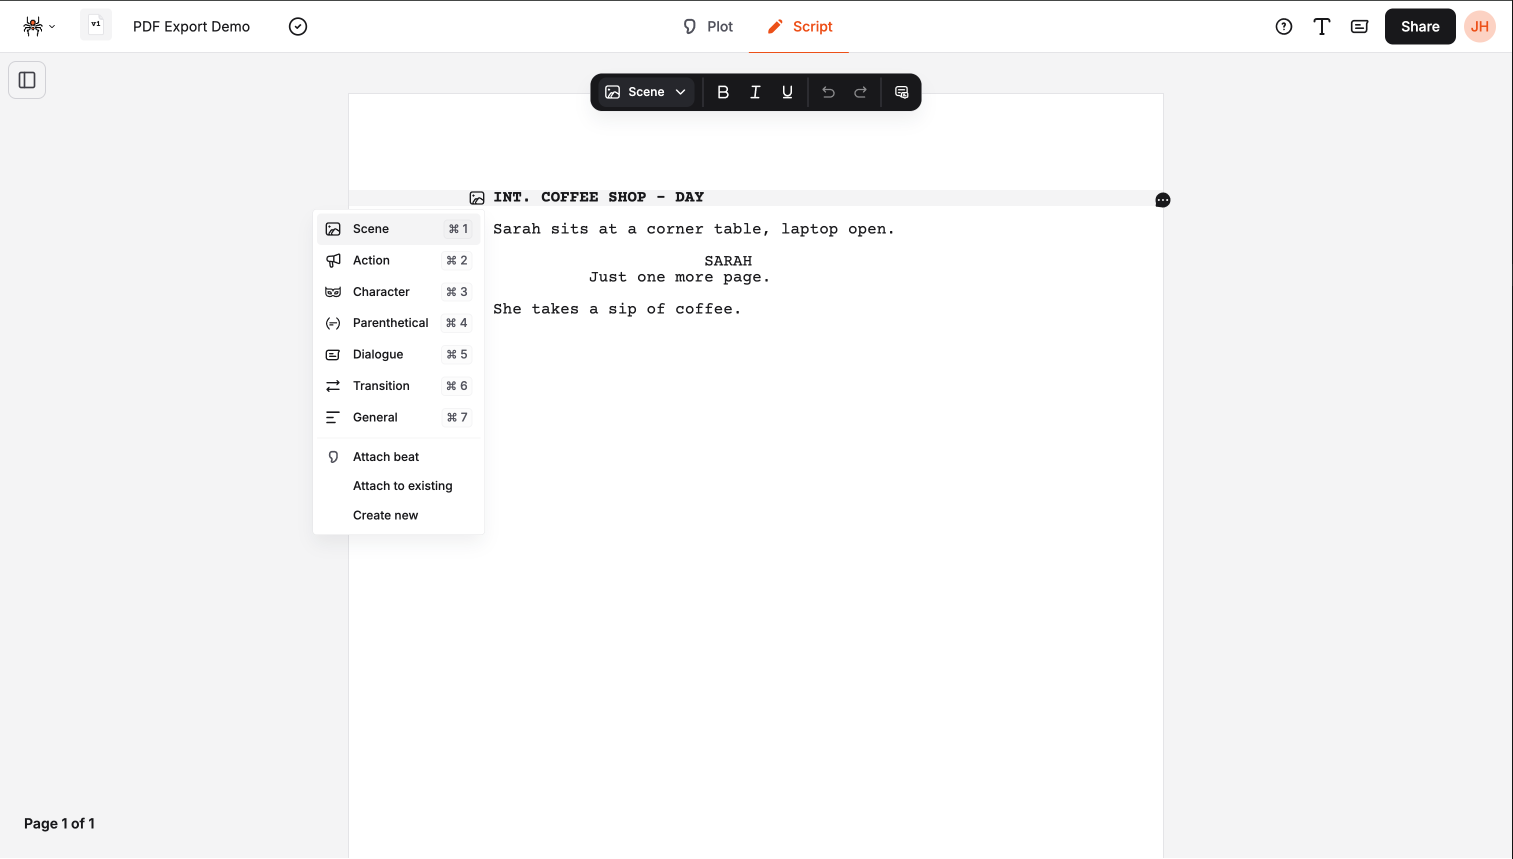
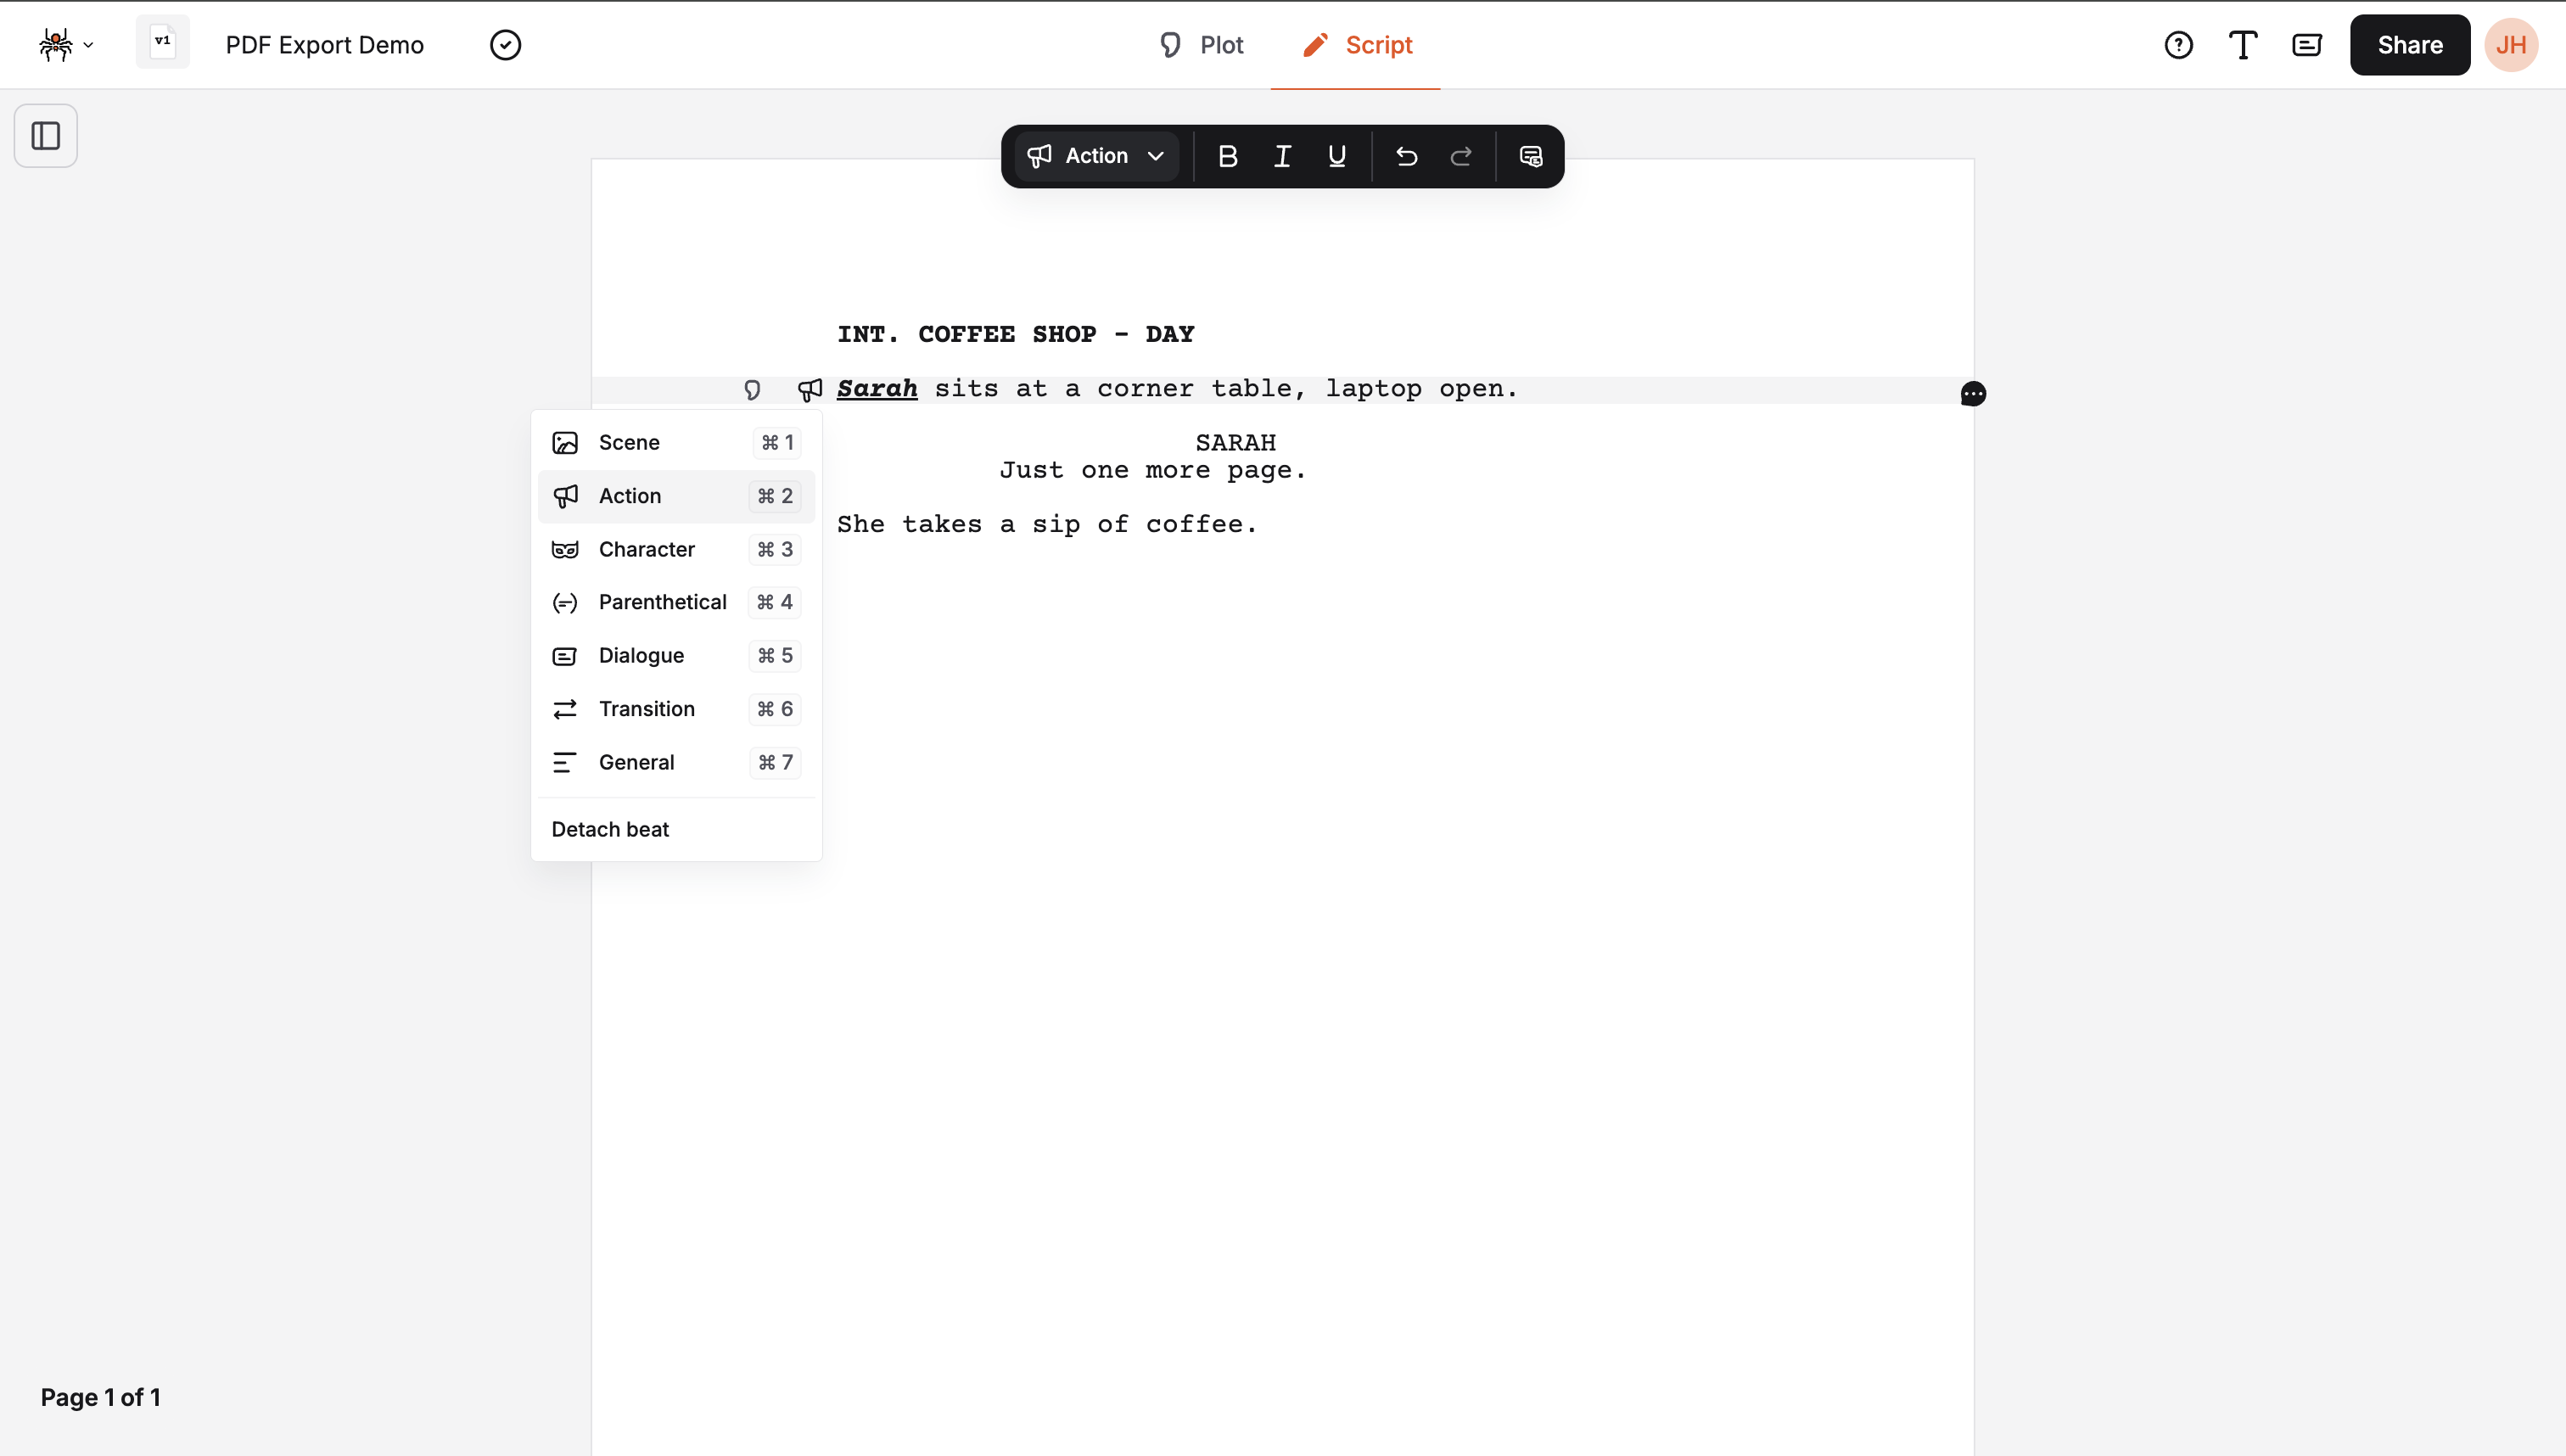
Section titled “Available Elements”The element menu includes all standard screenplay elements:
- Scene (
Cmd/Ctrl+1): Scene headings and locations - Action (
Cmd/Ctrl+2): Action descriptions and character movements - Character (
Cmd/Ctrl+3): Character names for dialogue - Parenthetical (
Cmd/Ctrl+4): Character directions and emotions - Dialogue (
Cmd/Ctrl+5): Character speech - Transition (
Cmd/Ctrl+6): Scene transitions - General (
Cmd/Ctrl+7): General text elements
Switching Elements
Section titled “Switching Elements”- Click the element menu button to open the menu
- Select an element type from the list
- The focused element changes to the new element type
- Keyboard shortcuts are shown for quick access
Element Menu Features
Section titled “Element Menu Features”- Visual feedback: Current element is highlighted
- Keyboard shortcuts: Shows platform-specific shortcuts
- Icons: Each element has a distinctive icon
- Quick switching: Faster than using the toolbar
Menu Behavior
Section titled “Menu Behavior”Contextual Display
Section titled “Contextual Display”The element menu adapts based on:
- Element type: Different options for different elements
- Beat status: Shows attachment options when appropriate
- Focus state: Only appears when an element is focused
- Screen size: Hidden on mobile devices
Visual States
Section titled “Visual States”- Normal state: Standard menu appearance
- Highlighted: Current element is highlighted
- Disabled: Options that aren’t available
- Separated: Beat options are separated from element options
Keyboard Navigation
Section titled “Keyboard Navigation”- Arrow keys: Navigate through menu options
- Enter: Select the highlighted option
- Escape: Close the menu
- Tab: Move between menu sections
Beat Management
Section titled “Beat Management”Beat Attachment Options
Section titled “Beat Attachment Options”For Action and Scene elements, the element menu includes beat management:
- Attach to existing: Link to an existing beat
- Create new: Create a new beat for this element
- Detach beat: Remove beat connection (if attached)
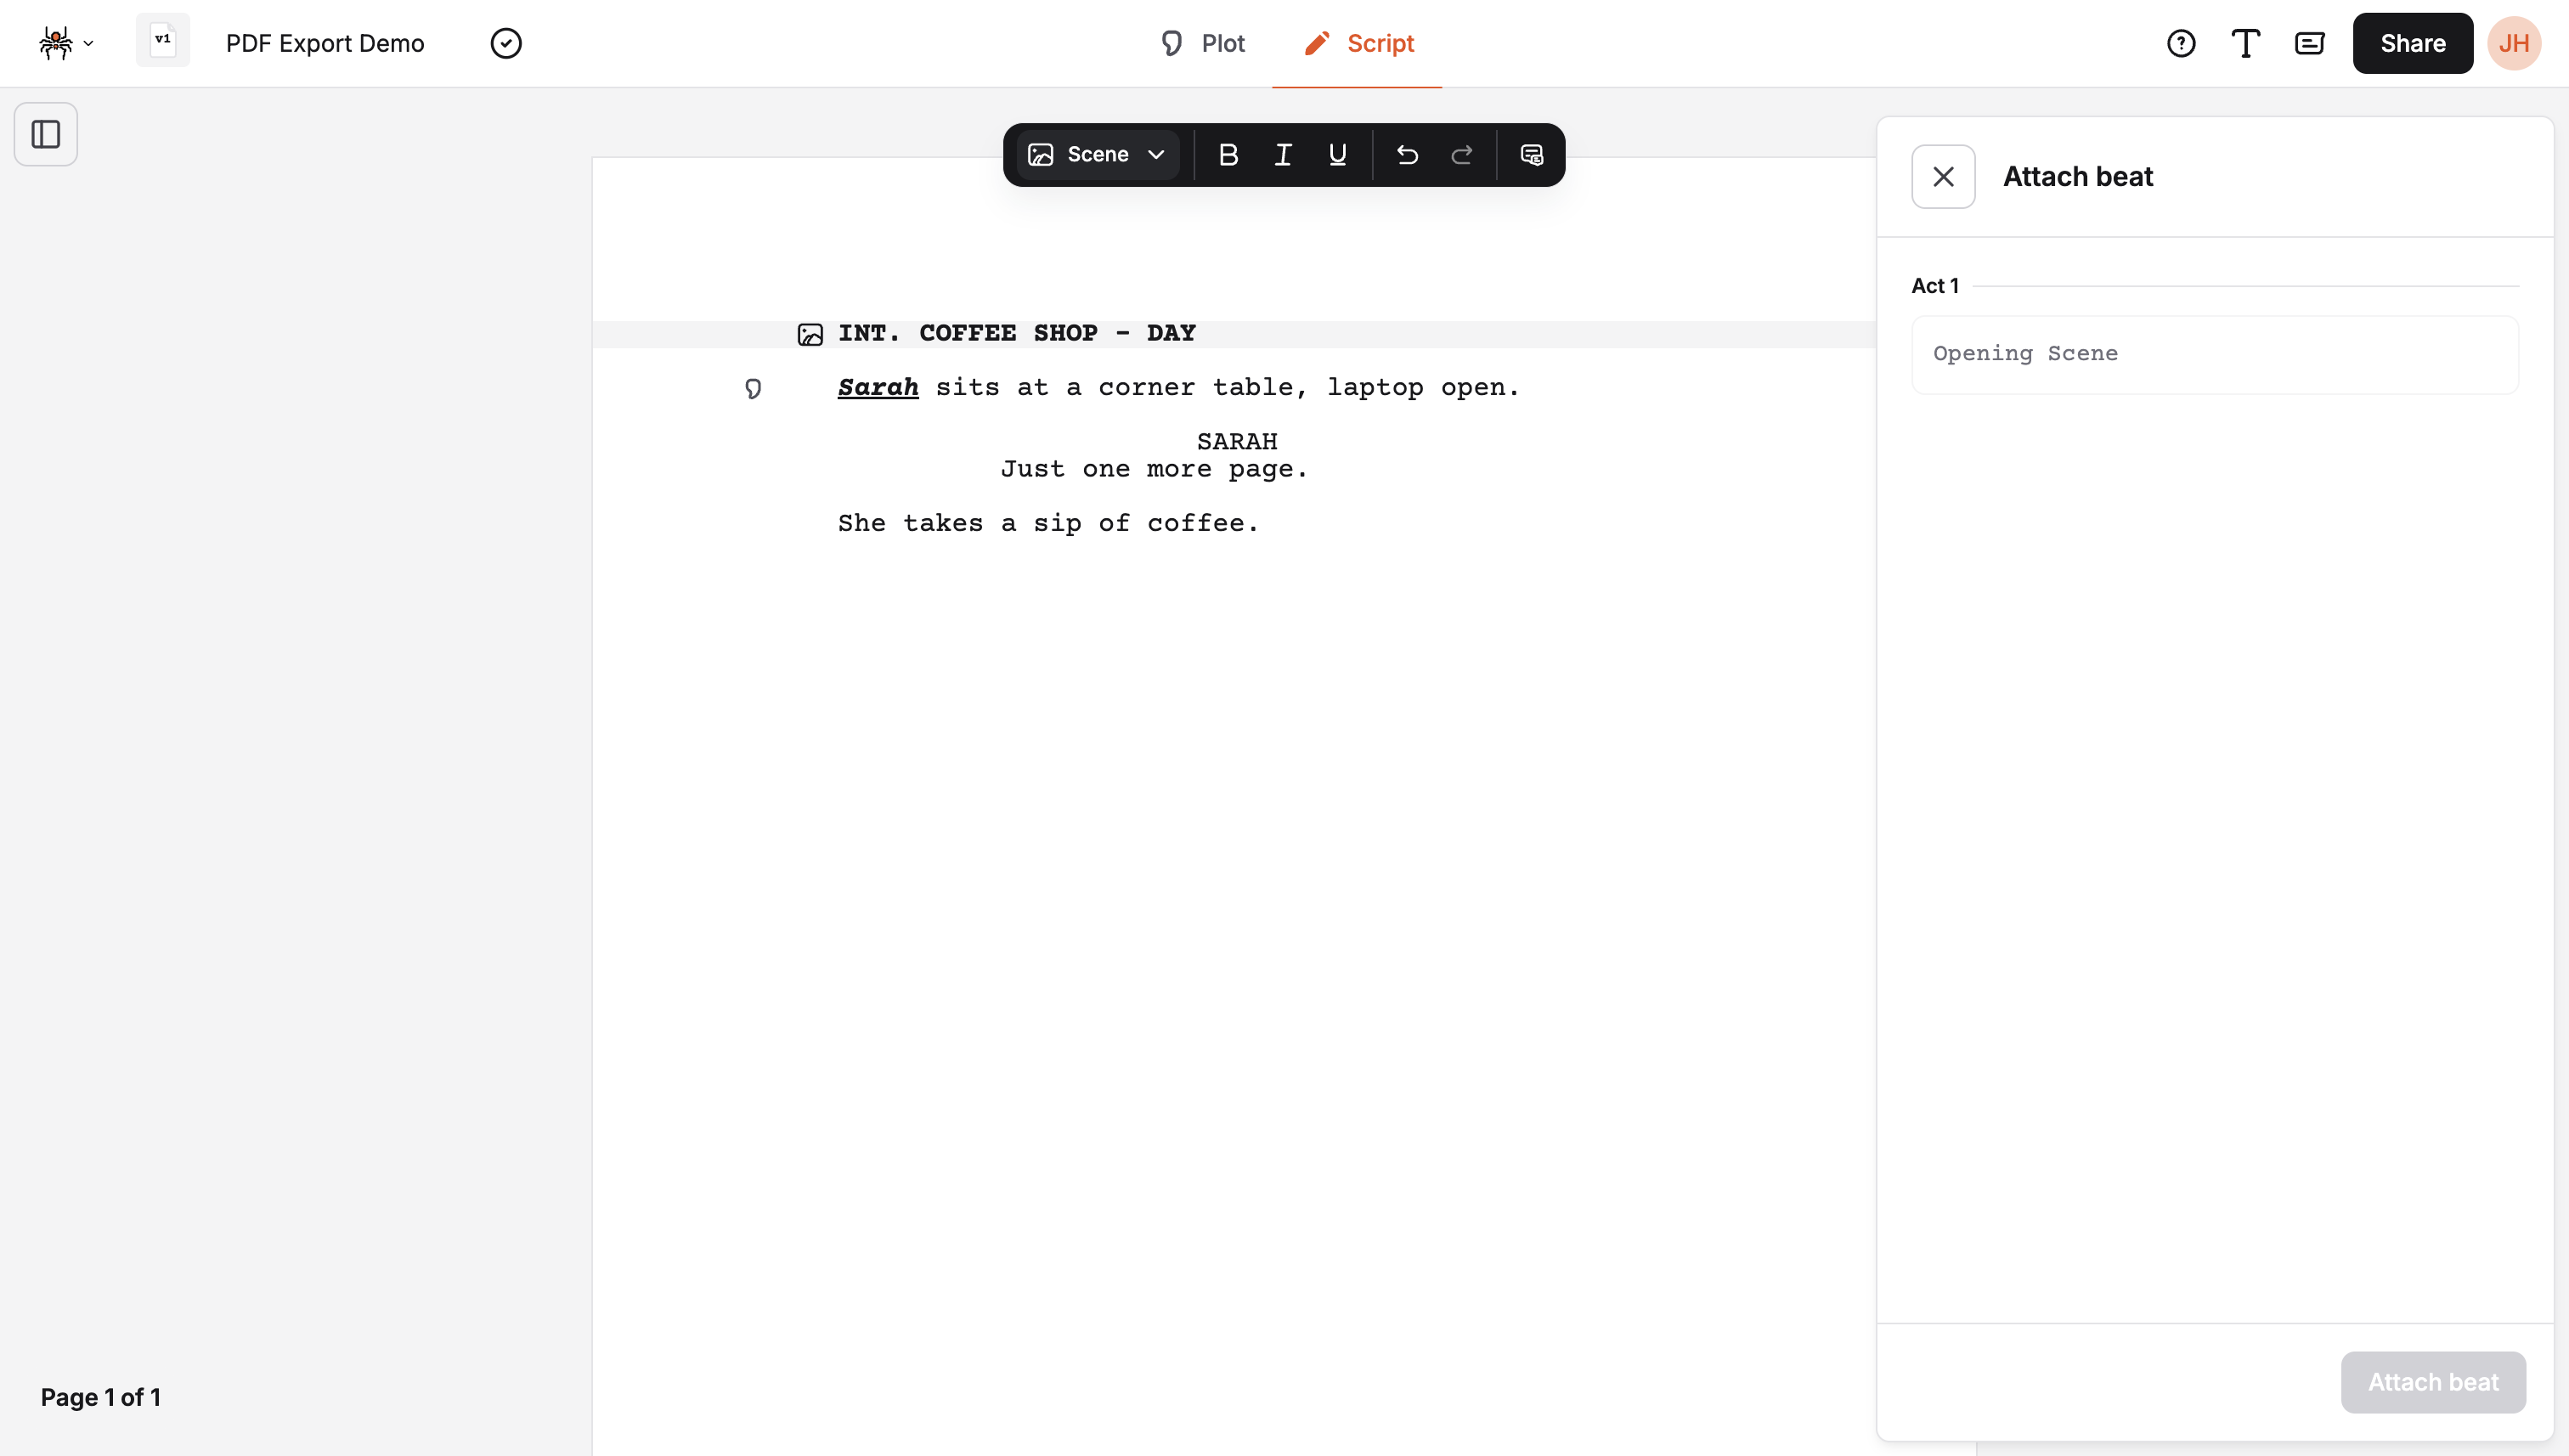
Attaching to Existing Beats
Section titled “Attaching to Existing Beats”- Select an Action or Scene element
- Click “Attach to existing” in the element menu
- Choose a beat from the available list
- The element is linked to the selected beat
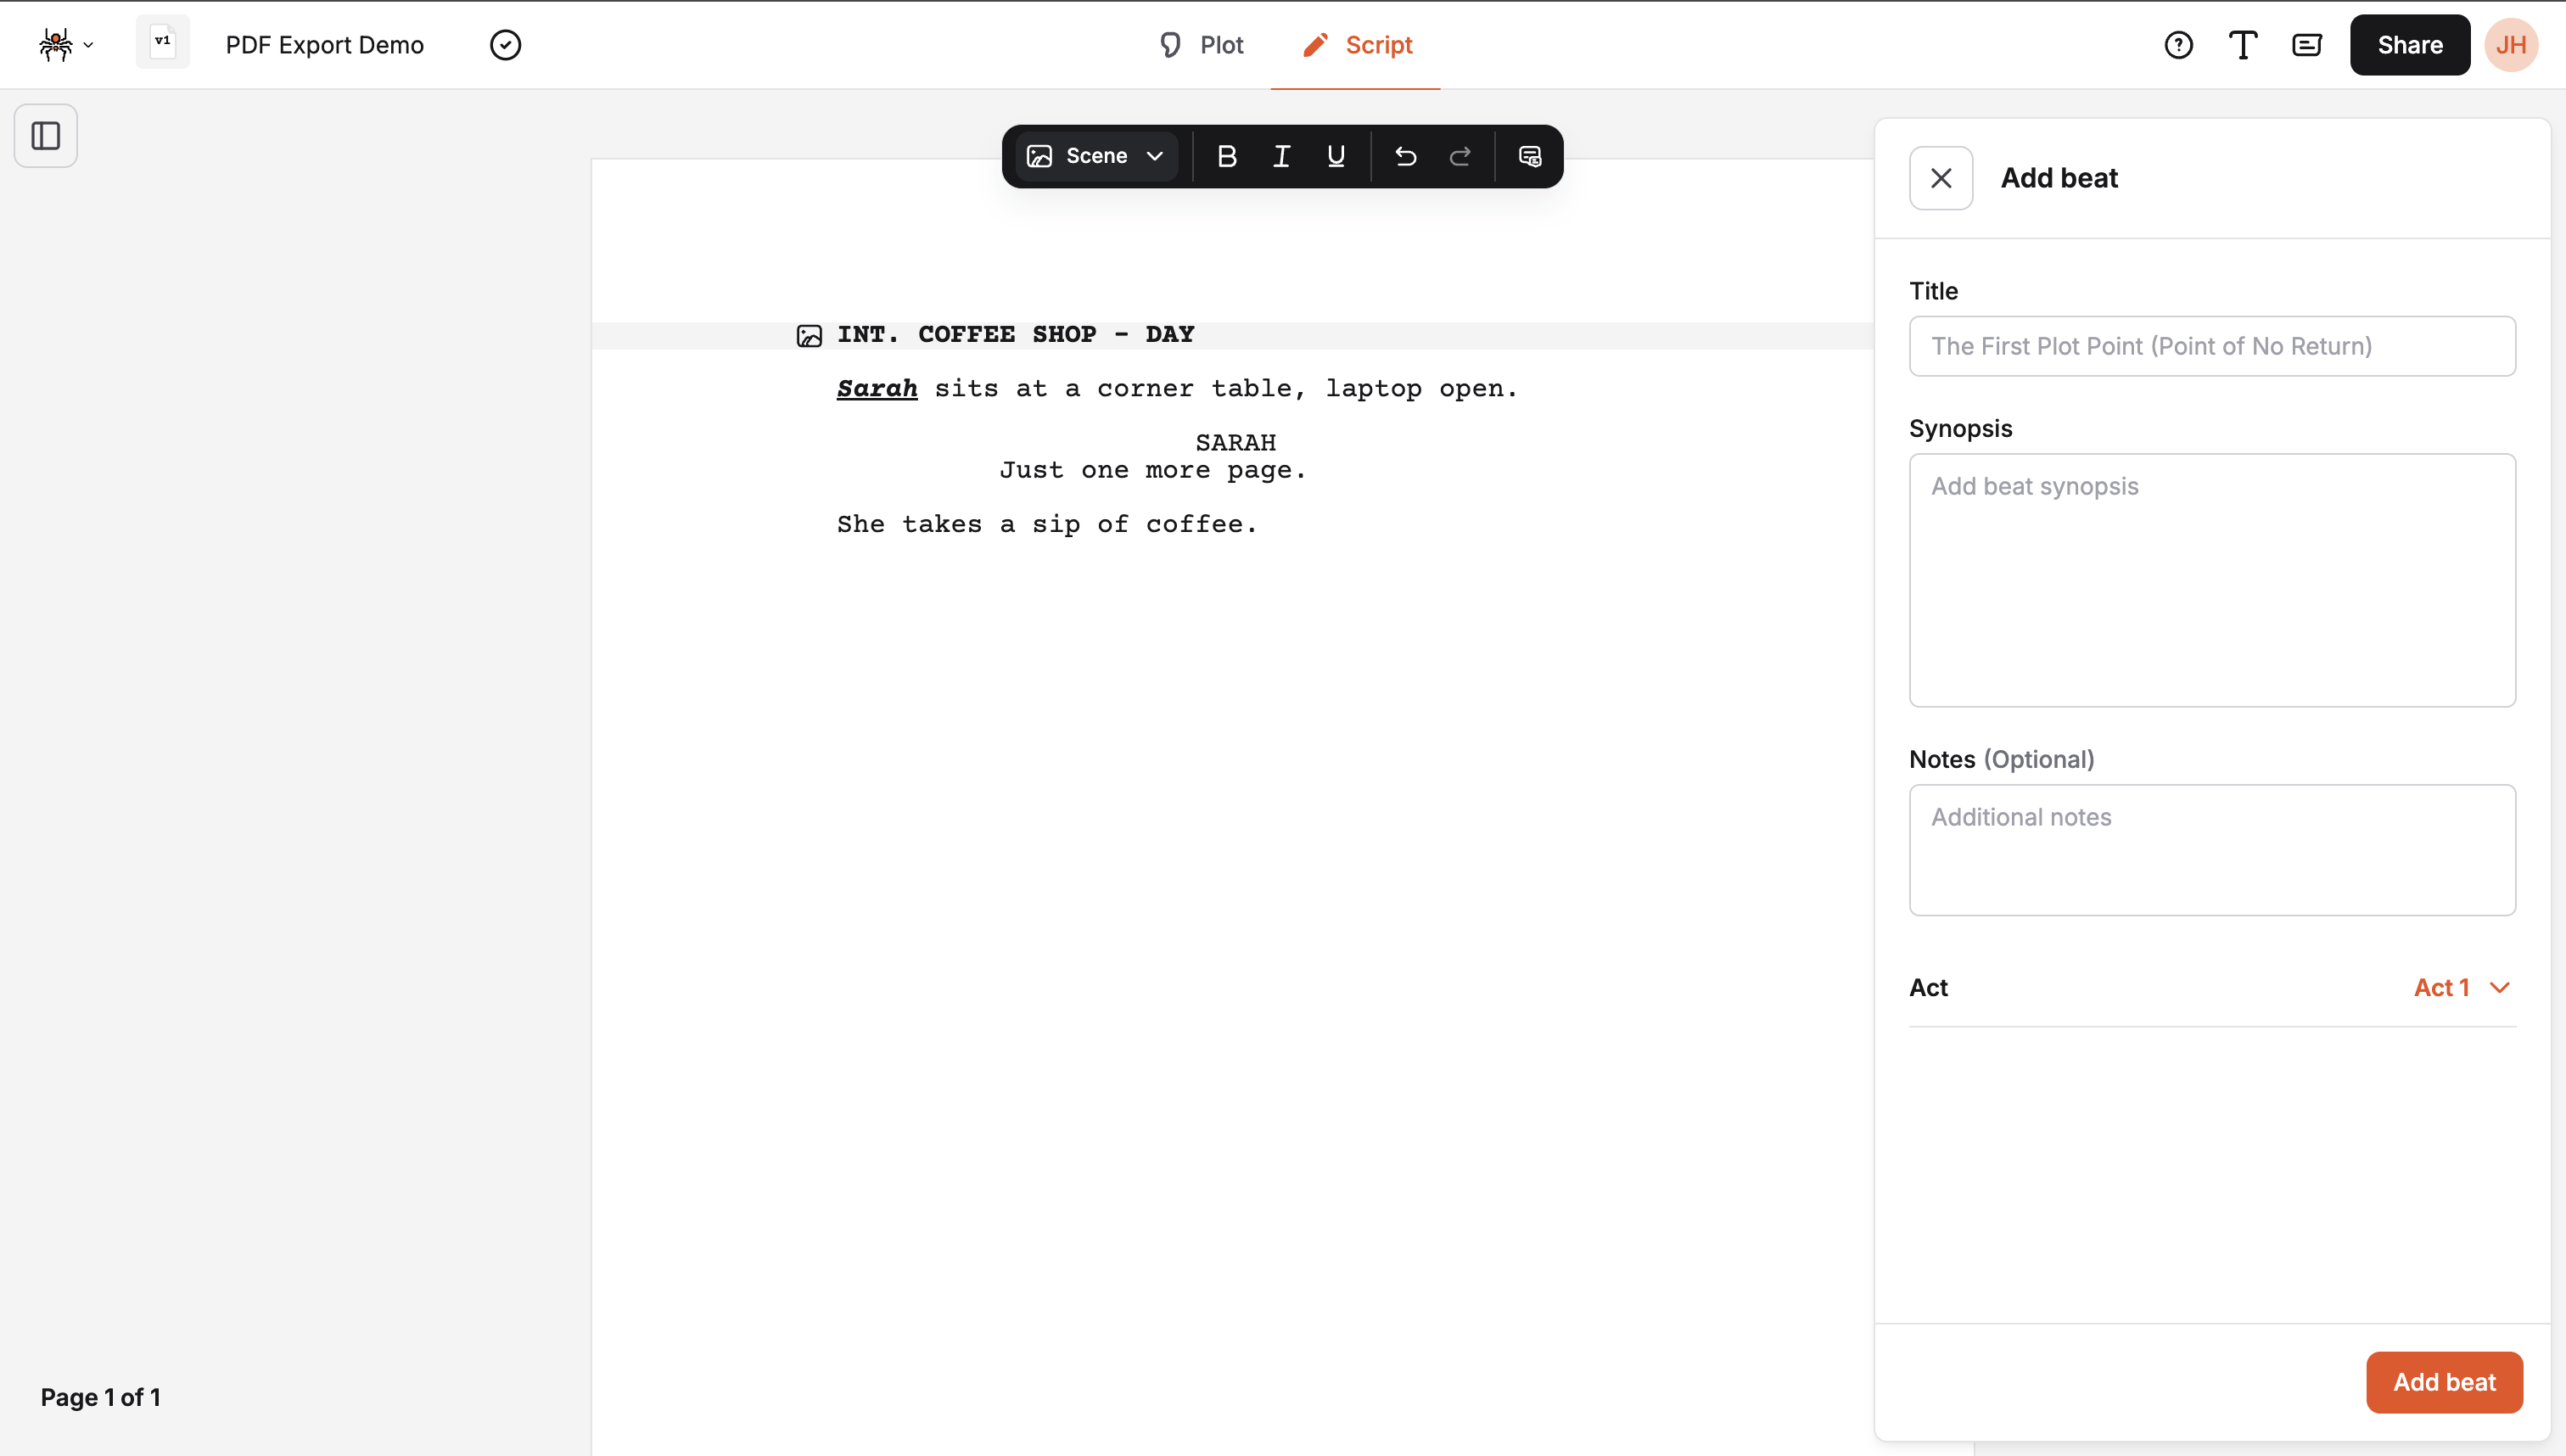
Creating New Beats
Section titled “Creating New Beats”- Select an Action or Scene element
- Click “Create new” in the element menu
- Fill in beat details in the beat drawer
- The element is linked to the new beat
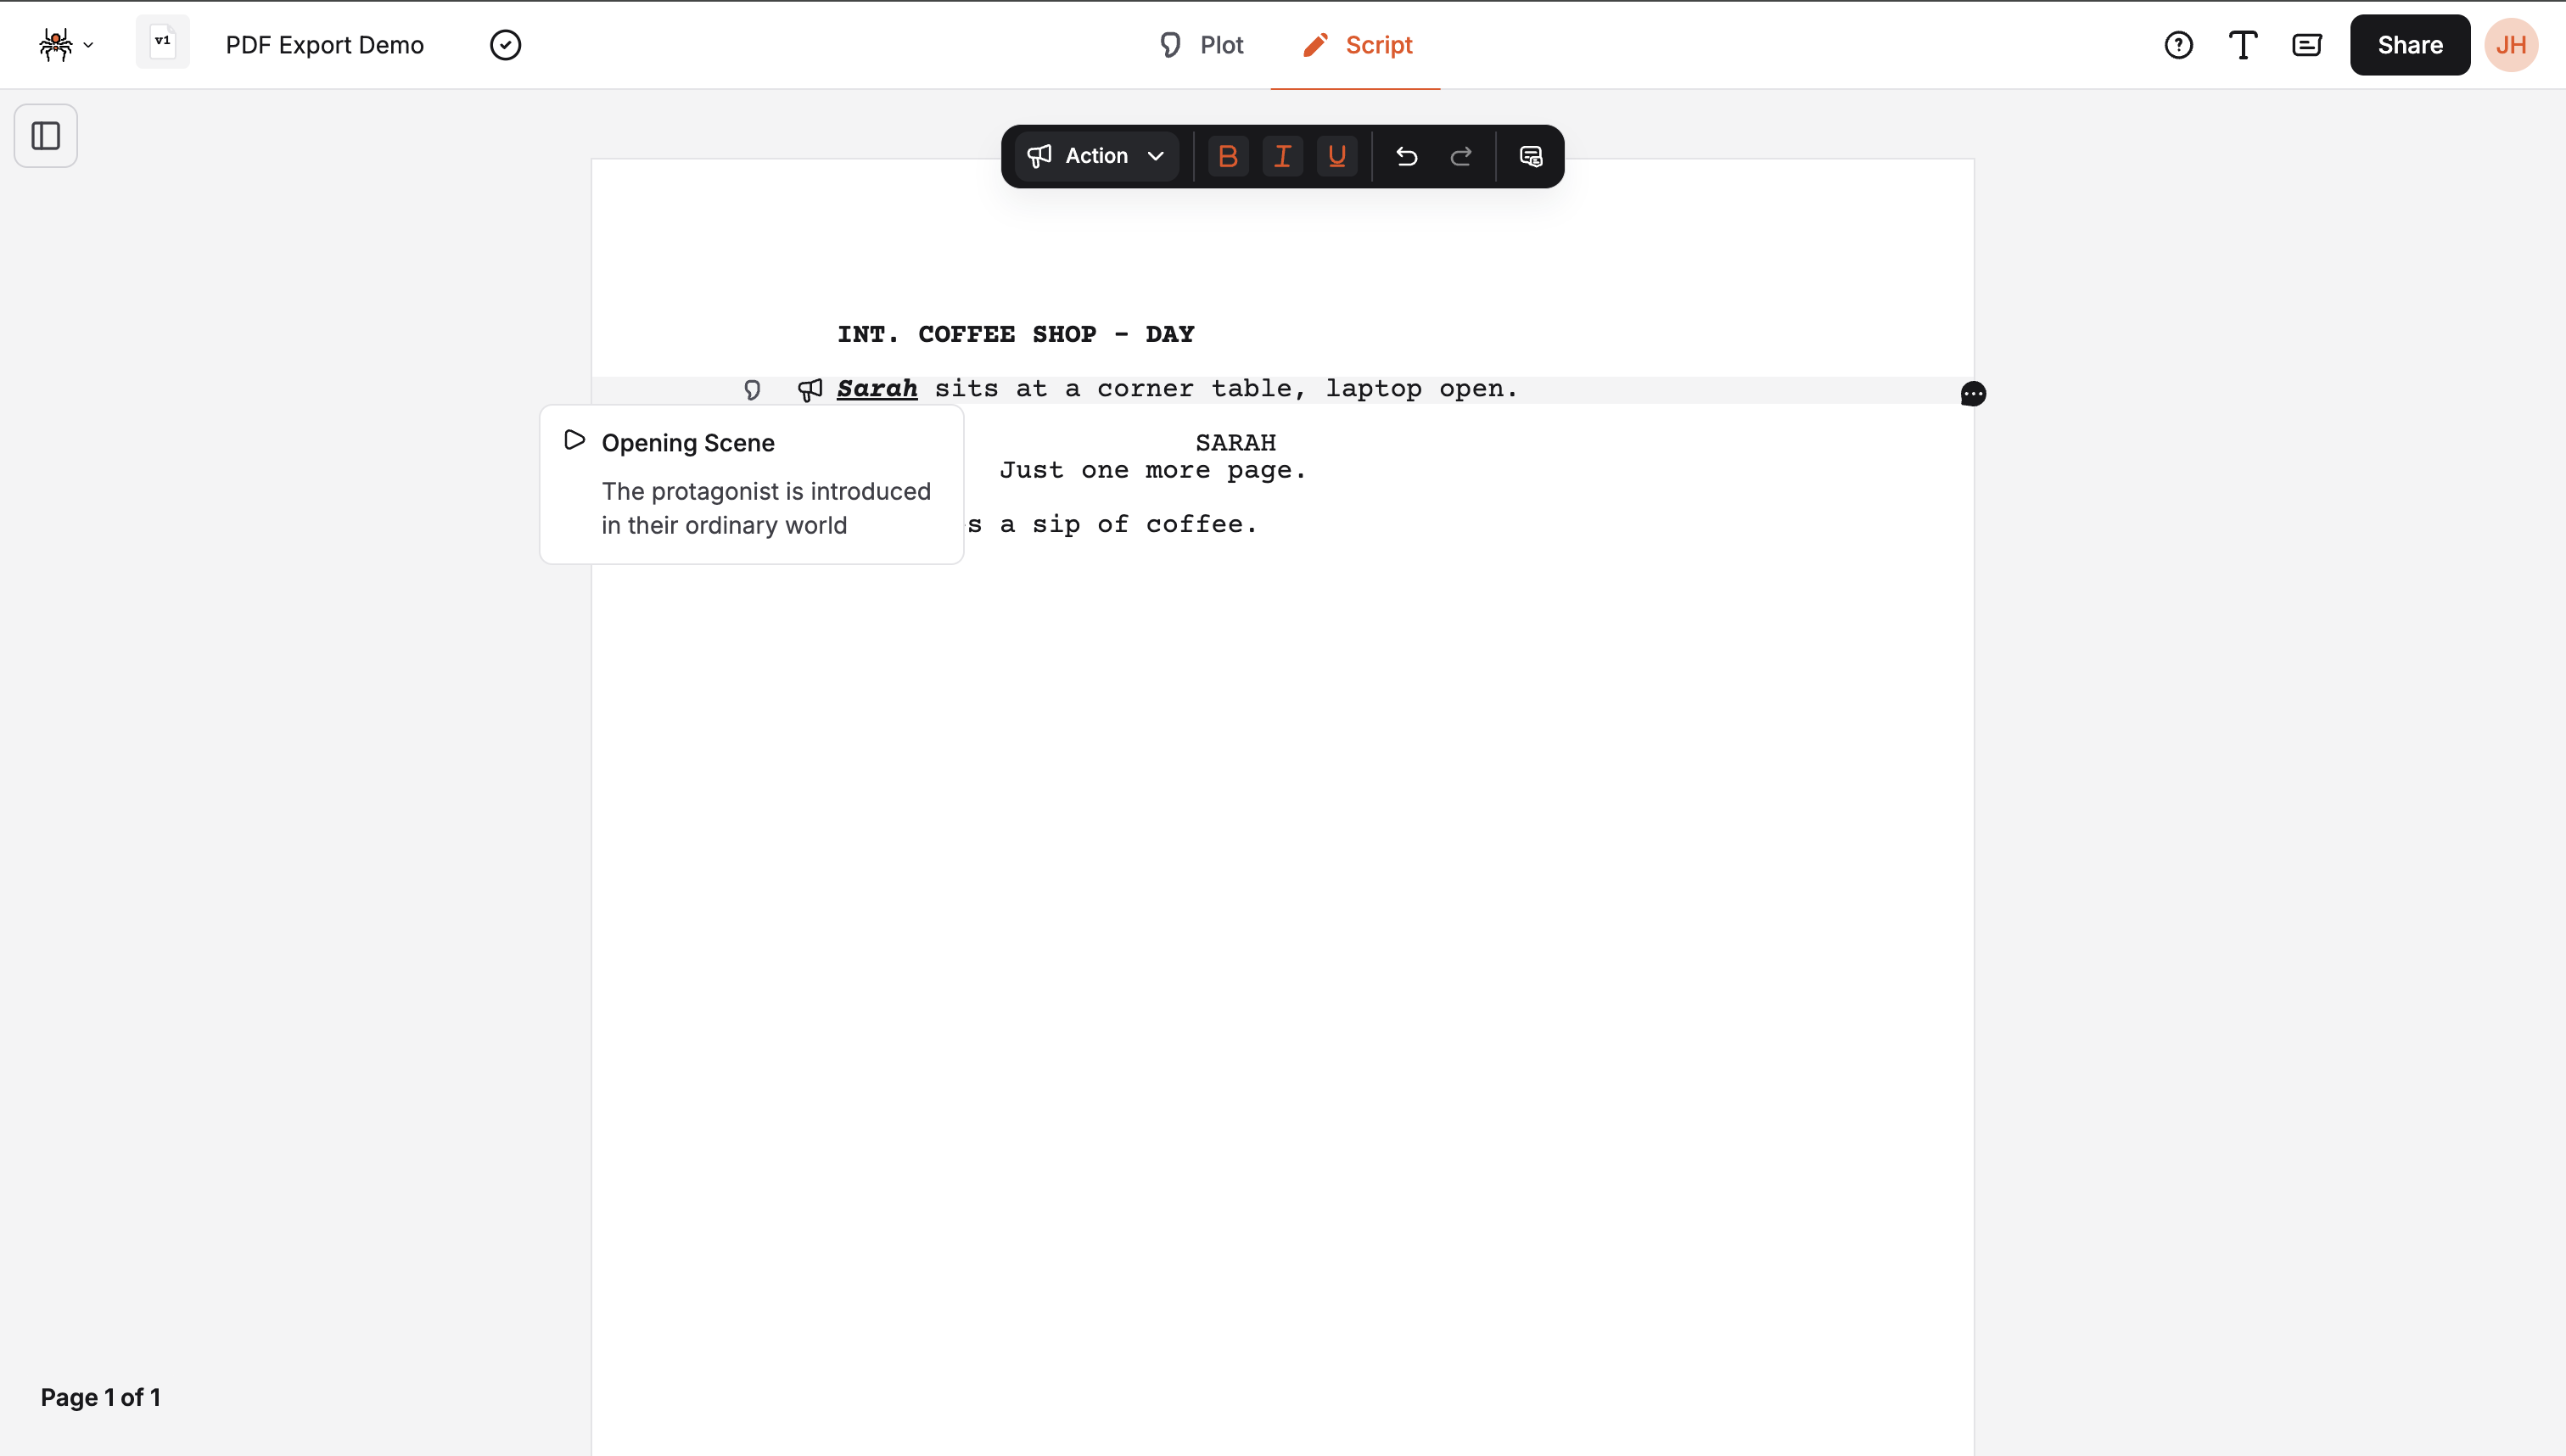
Connected Beats
Section titled “Connected Beats”Connected beats are shown by the element menu when the element is linked to a beat. The beat is shown in the element menu as a quote icon. Hovering over the quote icon will show the beat details in a tooltip.
Detaching Beats
Section titled “Detaching Beats”- Select an element with an attached beat
- Click “Detach beat” in the element menu
- The beat connection is removed
- The beat remains but is no longer linked
Mobile Experience
Section titled “Mobile Experience”Mobile Limitations
Section titled “Mobile Limitations”On mobile devices:
- Element menu is hidden: Not available on small screens
- Simplified interface: Reduced complexity for mobile users
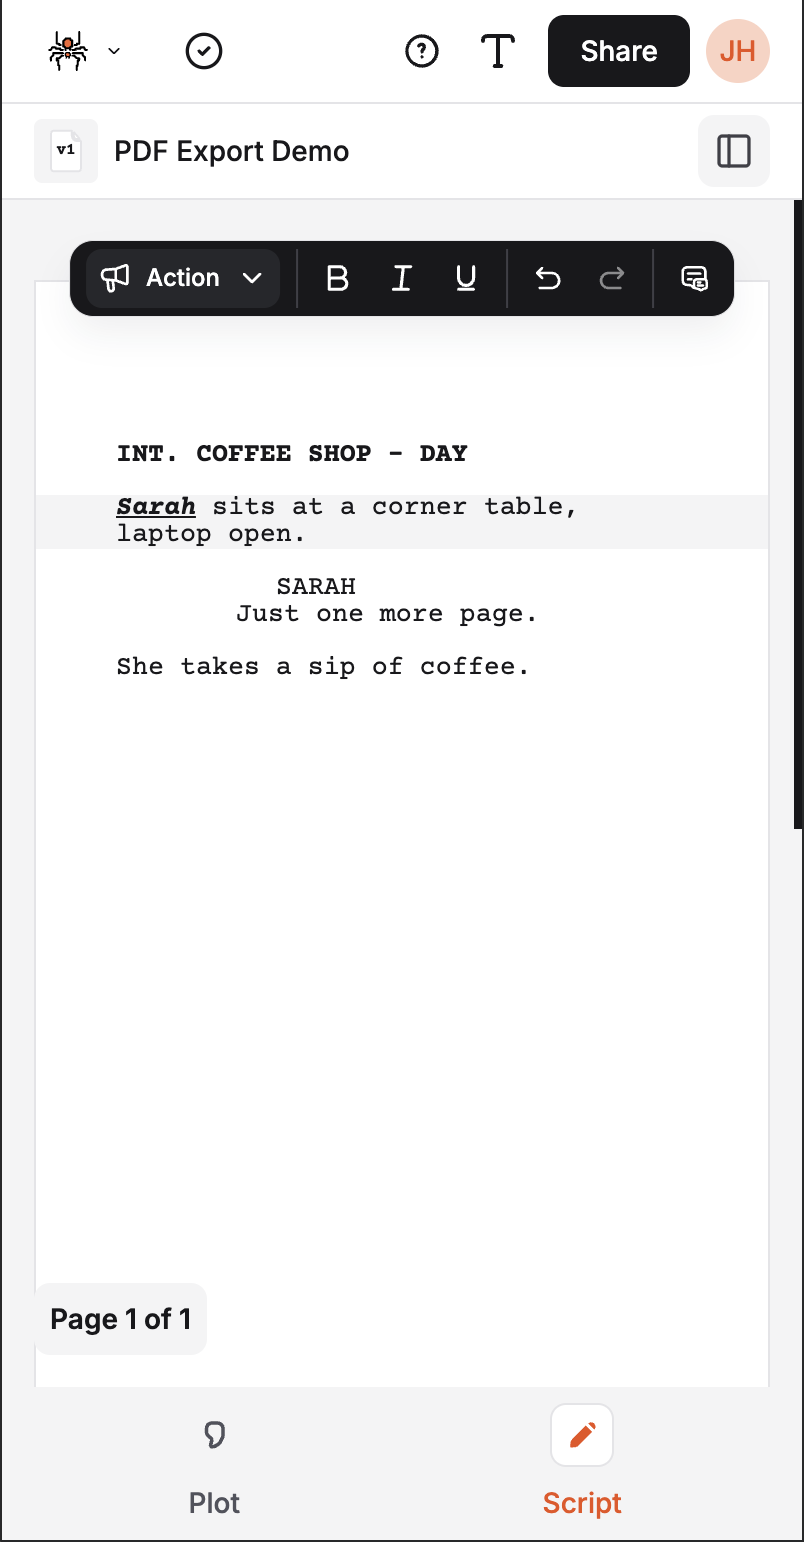
Mobile Alternatives
Section titled “Mobile Alternatives”- Toolbar: Use the toolbar for element switching and formatting
- Element detection: Automatic element detection
- Beat management: Access beats via the Plot tab and sidebar
Best Practices
Section titled “Best Practices”Efficient Workflow
Section titled “Efficient Workflow”- Use for quick changes: Faster than toolbar for element switching
- Combine with keyboard shortcuts: Use shortcuts for common elements
- Manage beats efficiently: Use the menu for beat attachment
- Check element type: Verify you’re in the right element before switching
Element Management
Section titled “Element Management”- Plan your structure: Think about element flow before switching
- Use beats strategically: Link important story moments to beats
- Maintain consistency: Use the same element types throughout
Troubleshooting
Section titled “Troubleshooting”Common Issues
Section titled “Common Issues”Element menu not appearing:
- Ensure an element is focused
- Check if you’re in a valid element
- Verify you’re not in read-only mode
Beat options not showing:
- Make sure you’re in an Action or Scene element
Menu not responding:
- Check if the element is in dual dialogue
- Ensure you’re not in a read-only view
Next Steps
Section titled “Next Steps”- Learn about the Toolbar
- Master Keyboard Shortcuts
- Explore Creating Beats
- Understand Element Detection