

Brainstorm Canvas
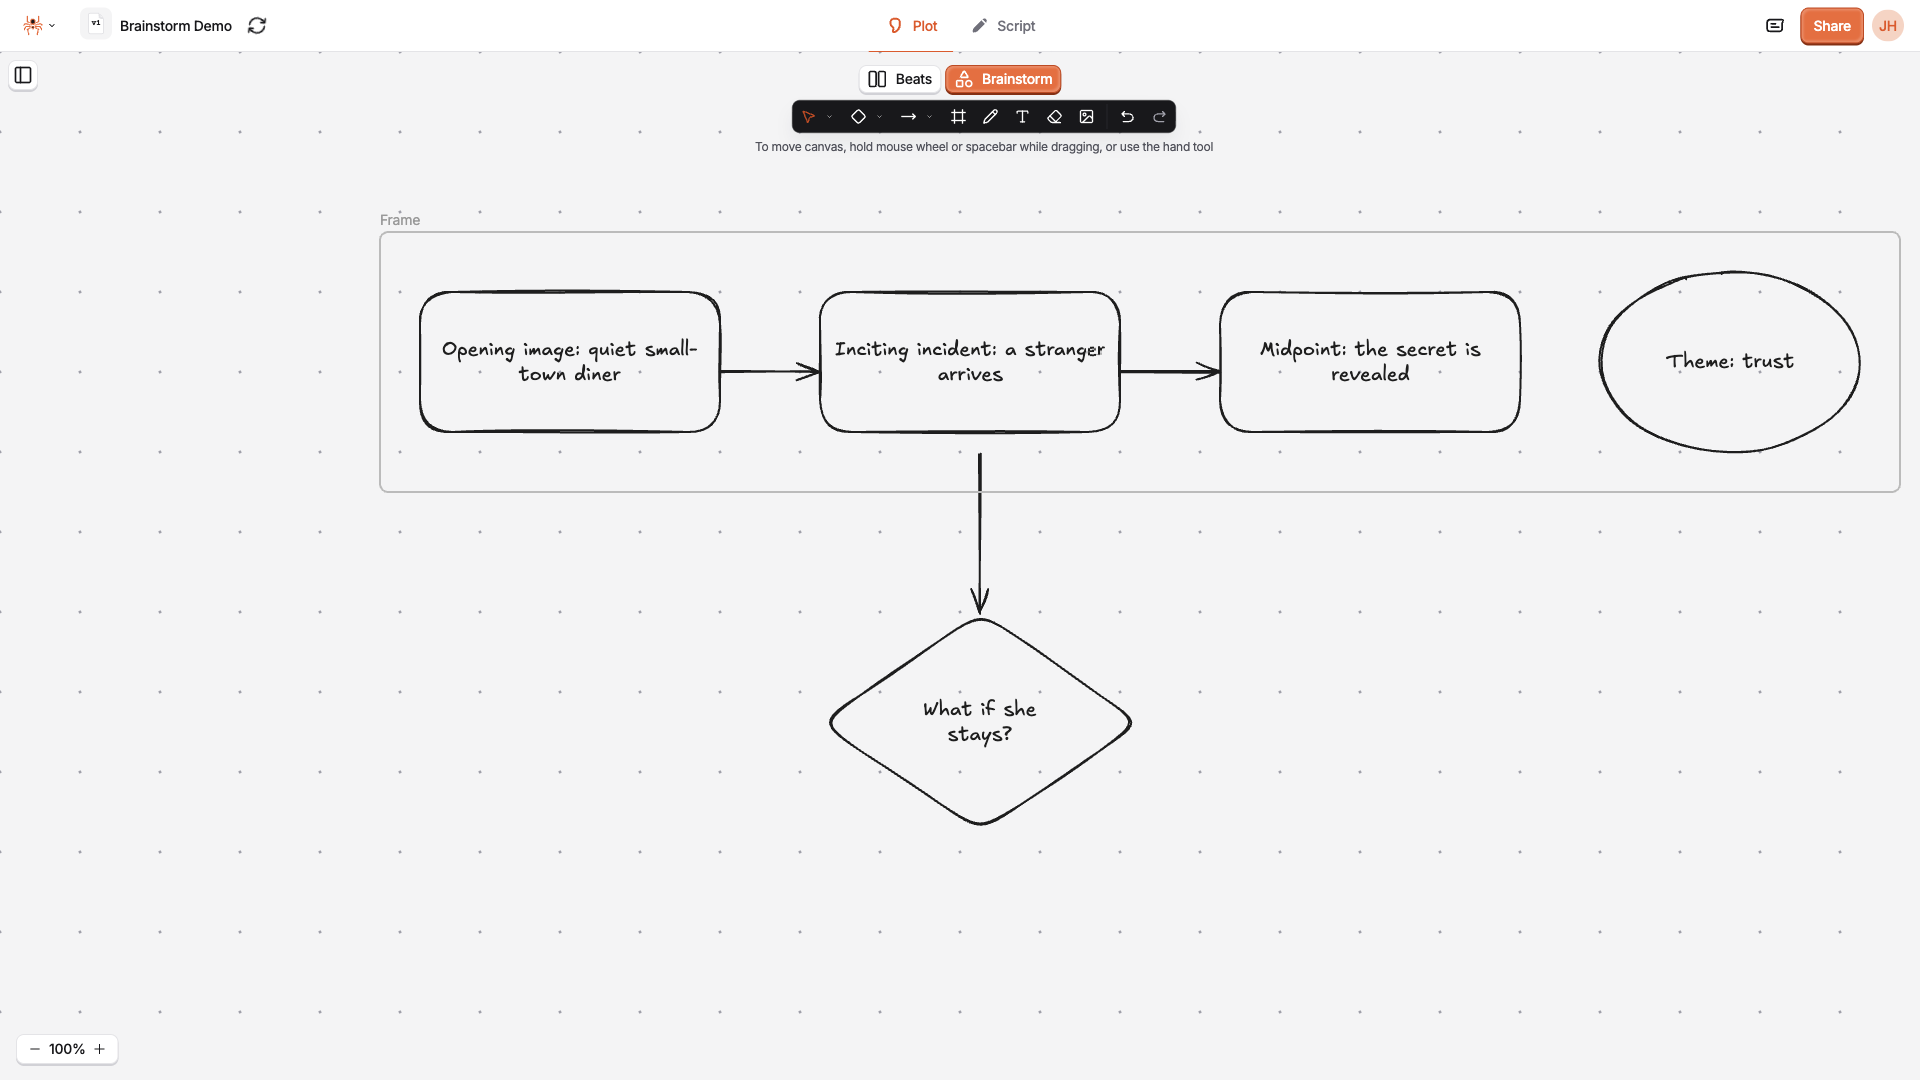
The Brainstorm canvas is an open, free-form space inside the Plot view. Use it to get ideas out of your head before they become beats: drop in cards, connect them with arrows, group them in frames, and rearrange them as the story develops.
Where the Beat Board gives your story a fixed structure of acts and beats, the Brainstorm canvas has no structure at all. Put anything anywhere.
Opening the Brainstorm Canvas
Section titled “Opening the Brainstorm Canvas”- Open your project and switch to the Plot view
- Find the view toggle at the top center of the page
- Click “Brainstorm” to switch from the Beat Board to the canvas
You can switch back at any time by clicking “Beats”. Your beats and your canvas are kept separately, so neither is affected when you switch.
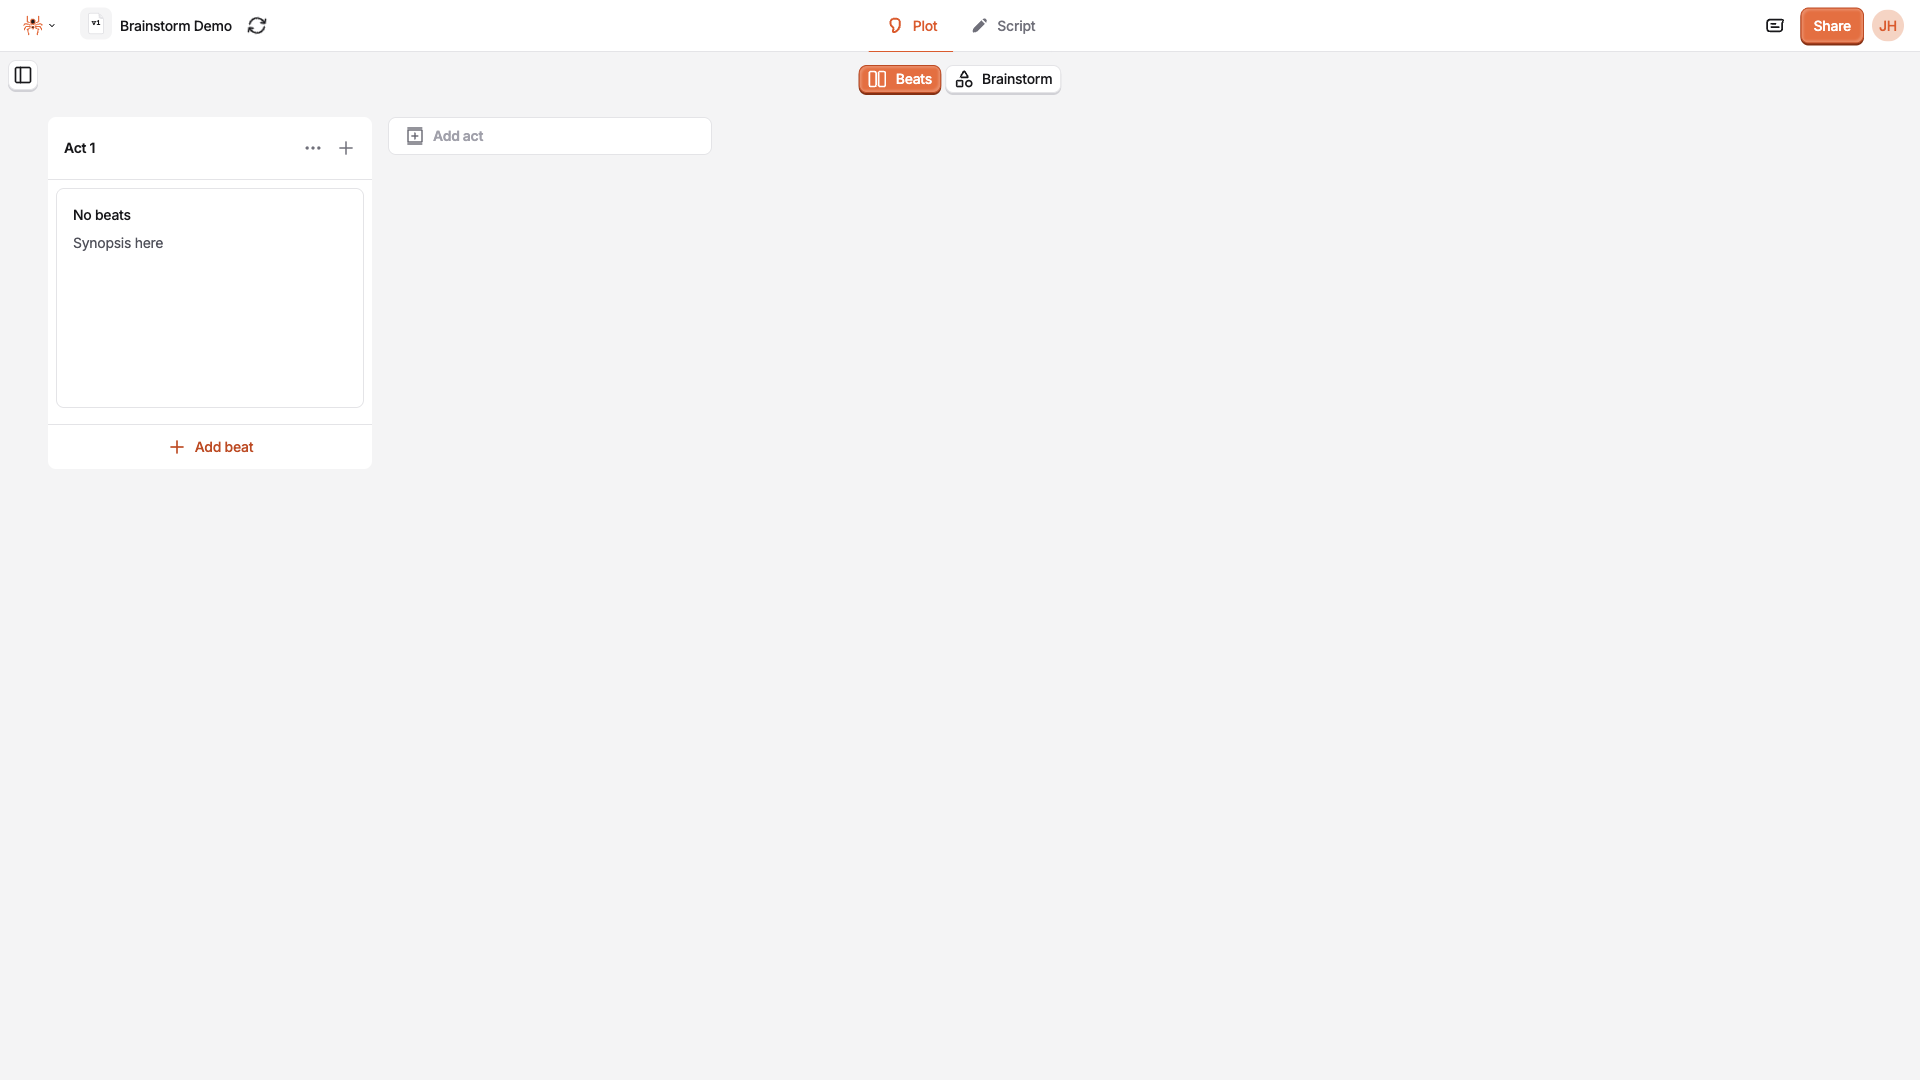
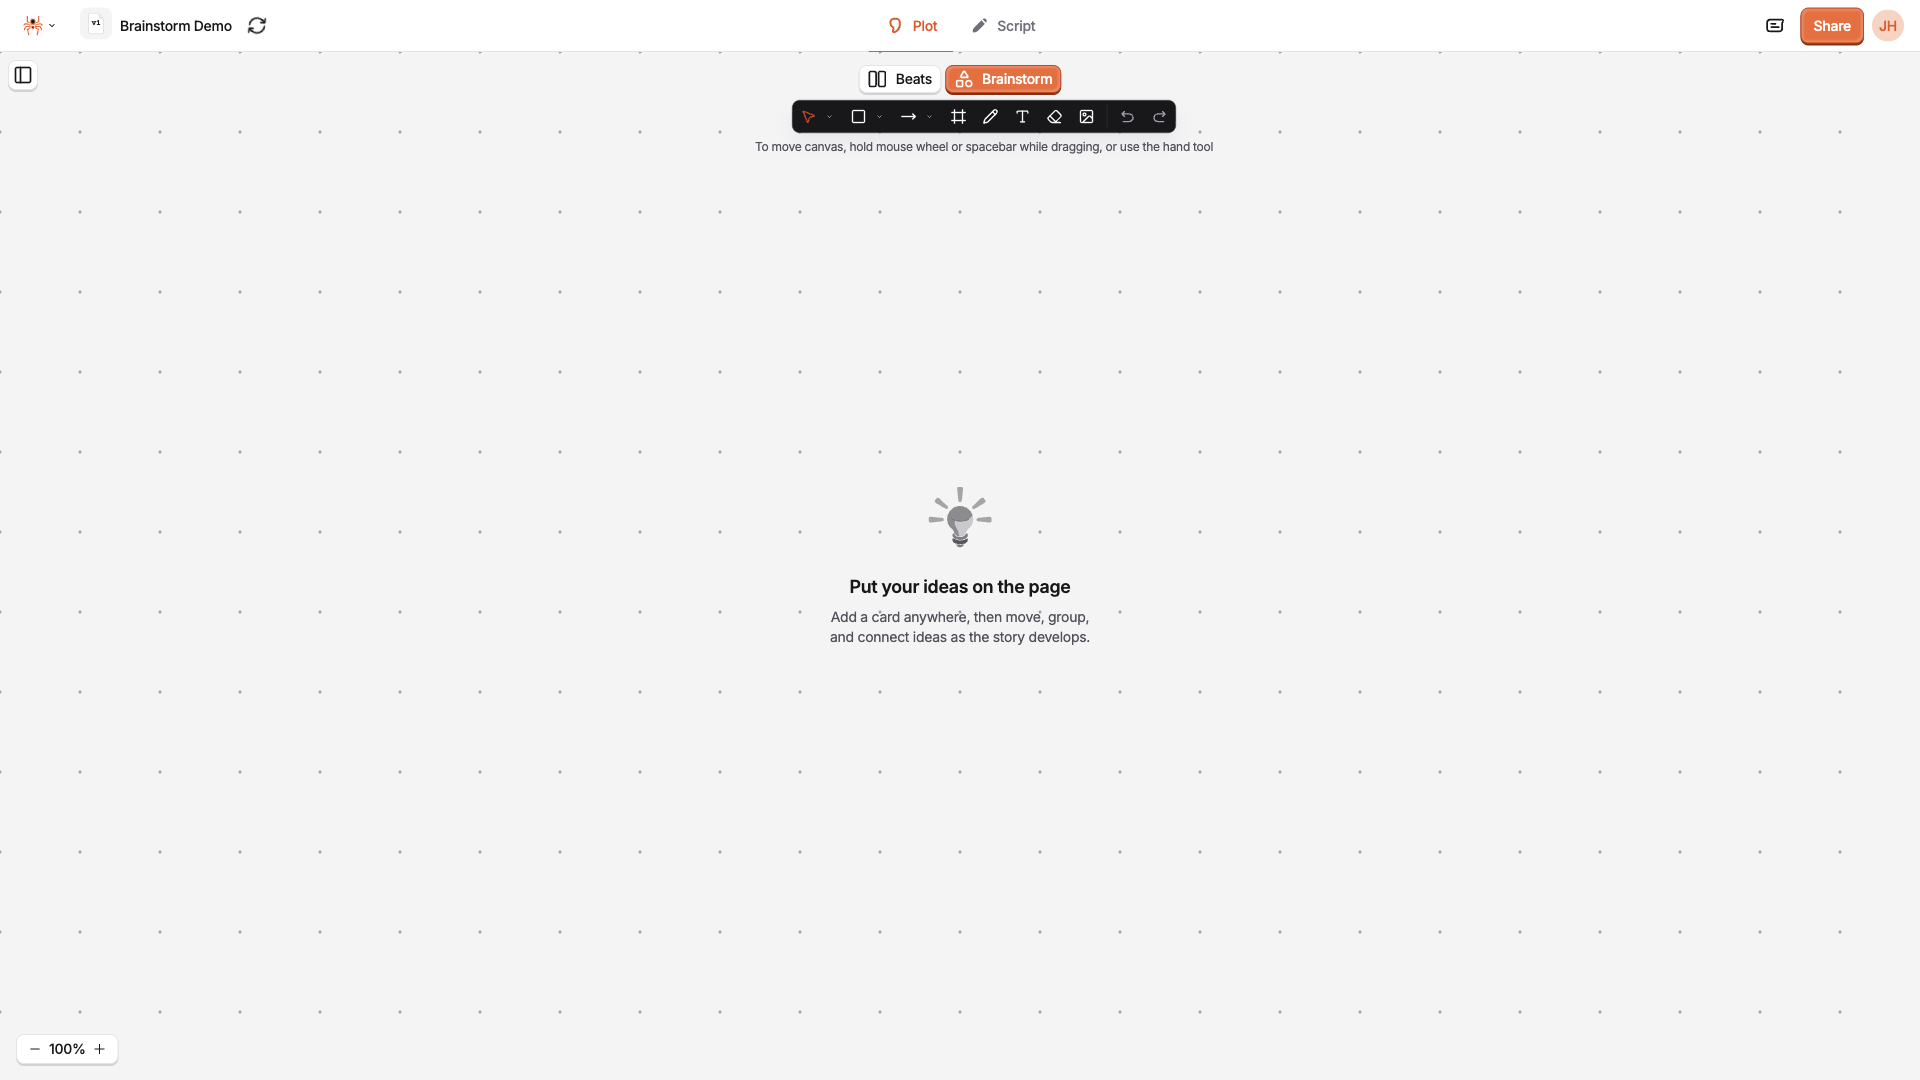
When you open a project’s canvas for the first time, it’s empty:
The Toolbar
Section titled “The Toolbar”The toolbar at the top of the canvas holds everything you need to add and edit ideas.

From left to right:
| Tool | What it does |
|---|---|
| Selection | Select, move, and resize things. Open the dropdown for the Move (hand) tool and the Laser pointer |
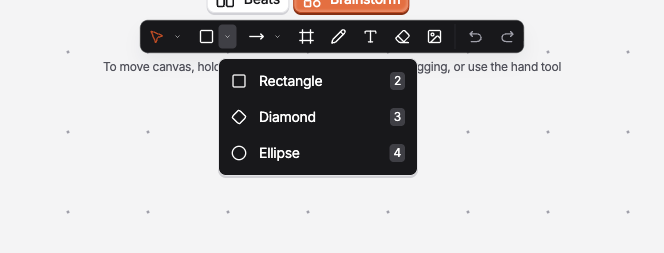
| Shapes | Rectangle, diamond, and ellipse. Open the dropdown to pick one |
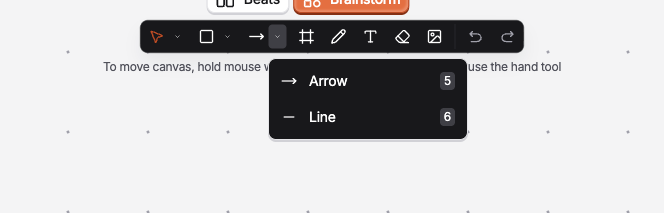
| Arrows | Arrow and line. Open the dropdown to pick one |
| Frame | Draw a frame to group related ideas |
| Freehand | Sketch freely with a pen (not available on touch devices) |
| Text | Place text anywhere on the canvas |
| Eraser | Remove things by dragging over them |
| Image | Add reference images, or photos of your handwritten notes |
| Undo / Redo | Step backward or forward through your changes |
Shapes
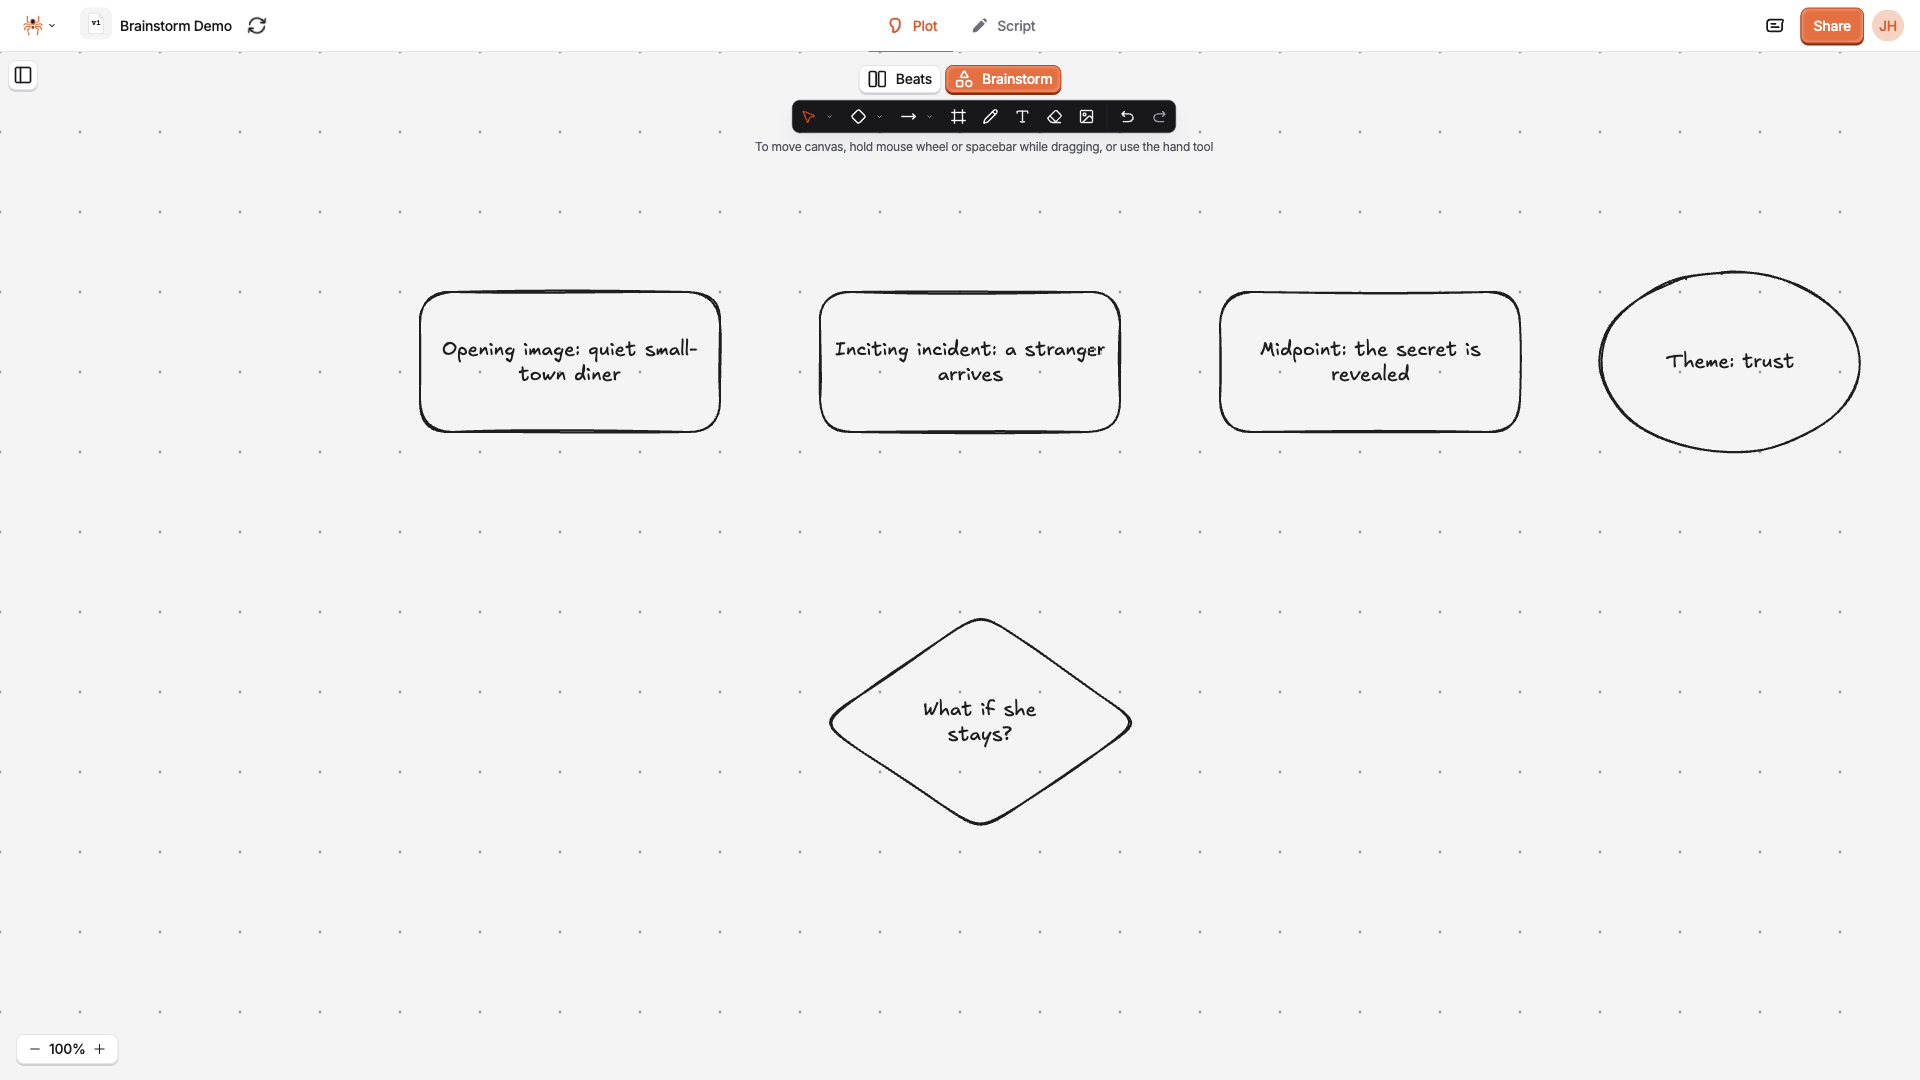
Section titled “Shapes”Click the arrow next to the shapes button to choose a shape. Rectangles work well as idea cards, ellipses for themes and characters, and diamonds for questions and decisions.
Arrows and Lines
Section titled “Arrows and Lines”Use arrows to show cause and effect, and lines to link related ideas without implying direction.
Adding Ideas
Section titled “Adding Ideas”Step 1: Draw a Card
Section titled “Step 1: Draw a Card”- Choose a shape from the toolbar (for example, a rectangle)
- Click and drag on the canvas to draw it
Step 2: Write in It
Section titled “Step 2: Write in It”- Double-click the shape to start typing
- Type your idea: the text stays inside the shape and wraps as you type
- Press Esc or click an empty part of the canvas to finish
Step 3: Add Loose Text
Section titled “Step 3: Add Loose Text”Choose the Text tool and click anywhere on the canvas to add a note that isn’t inside a shape.
Connecting Ideas
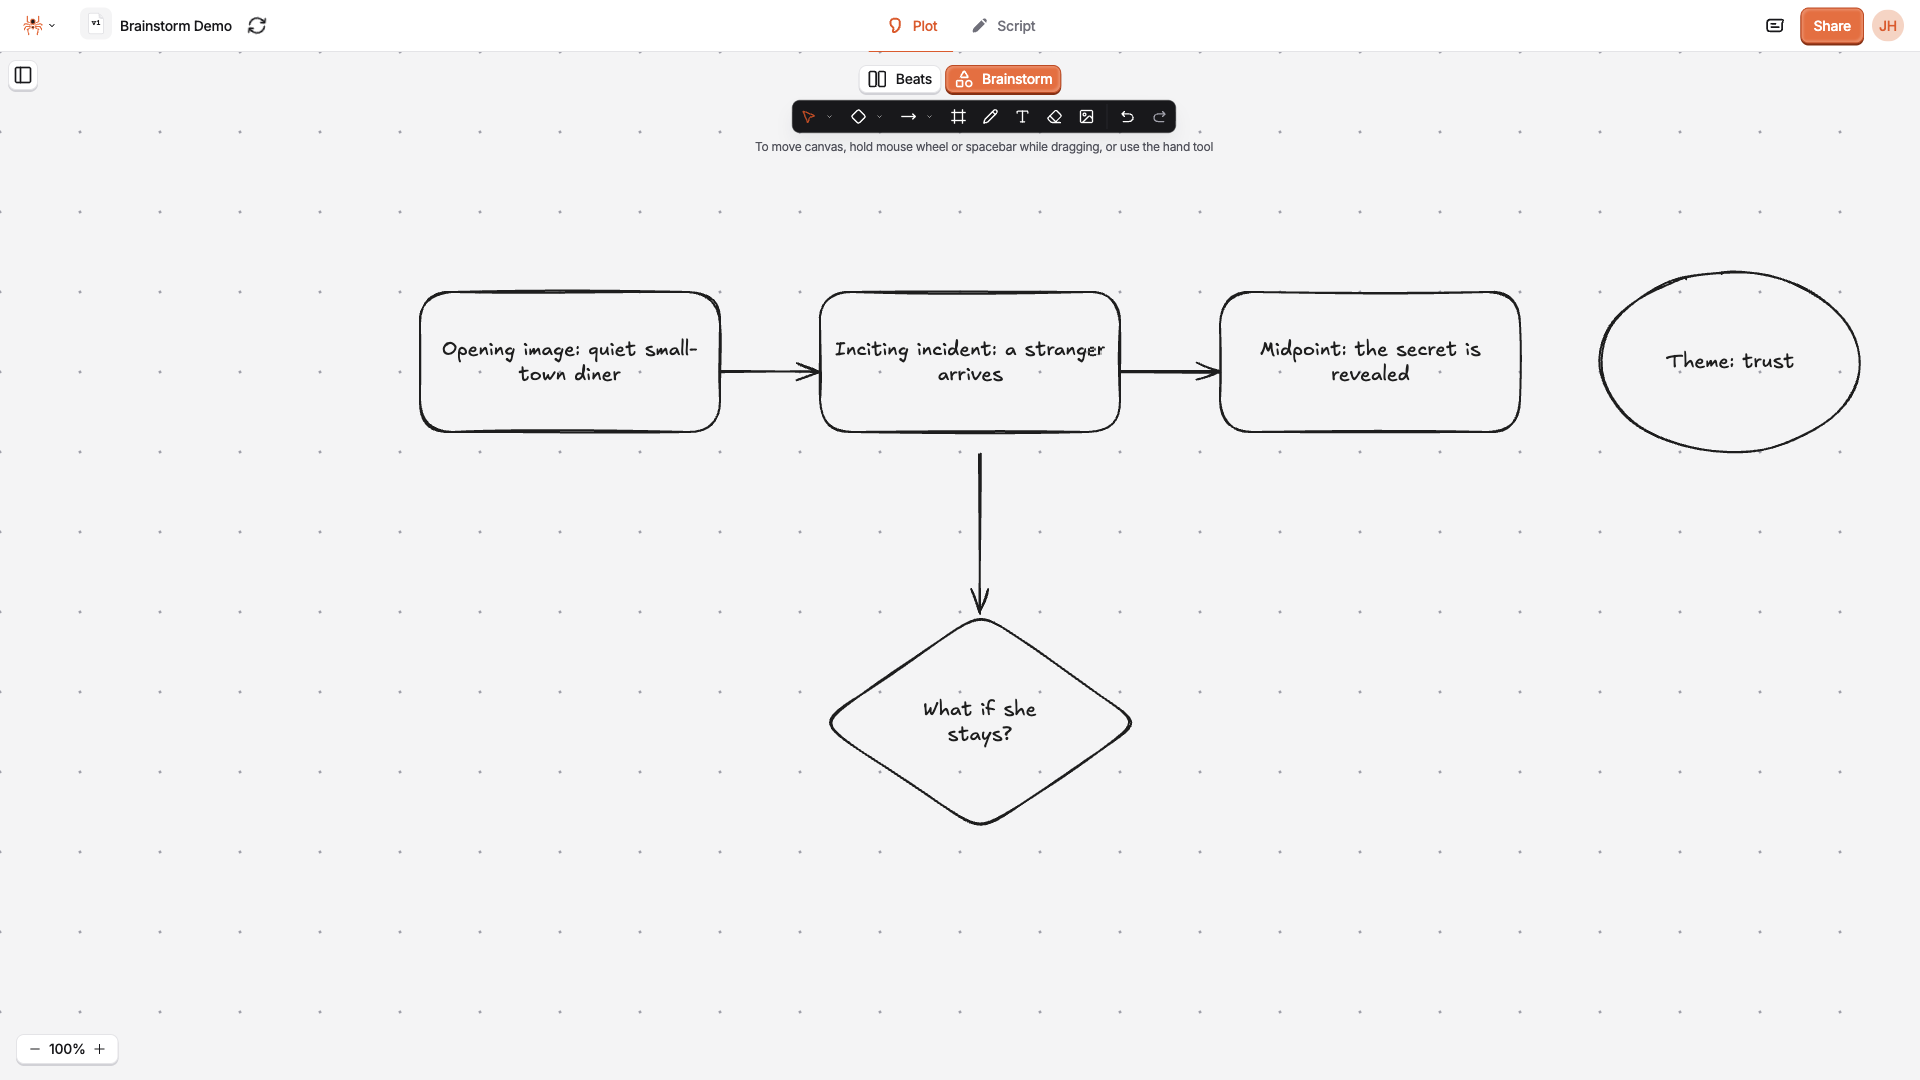
Section titled “Connecting Ideas”Arrows are how a pile of ideas turns into a story.
- Choose the Arrow tool
- Start the arrow on one card and drag to another
- Release on the second card to attach the arrow to it
Arrows that are attached to cards follow them: when you move a card, its arrows move with it.
Styling Your Ideas
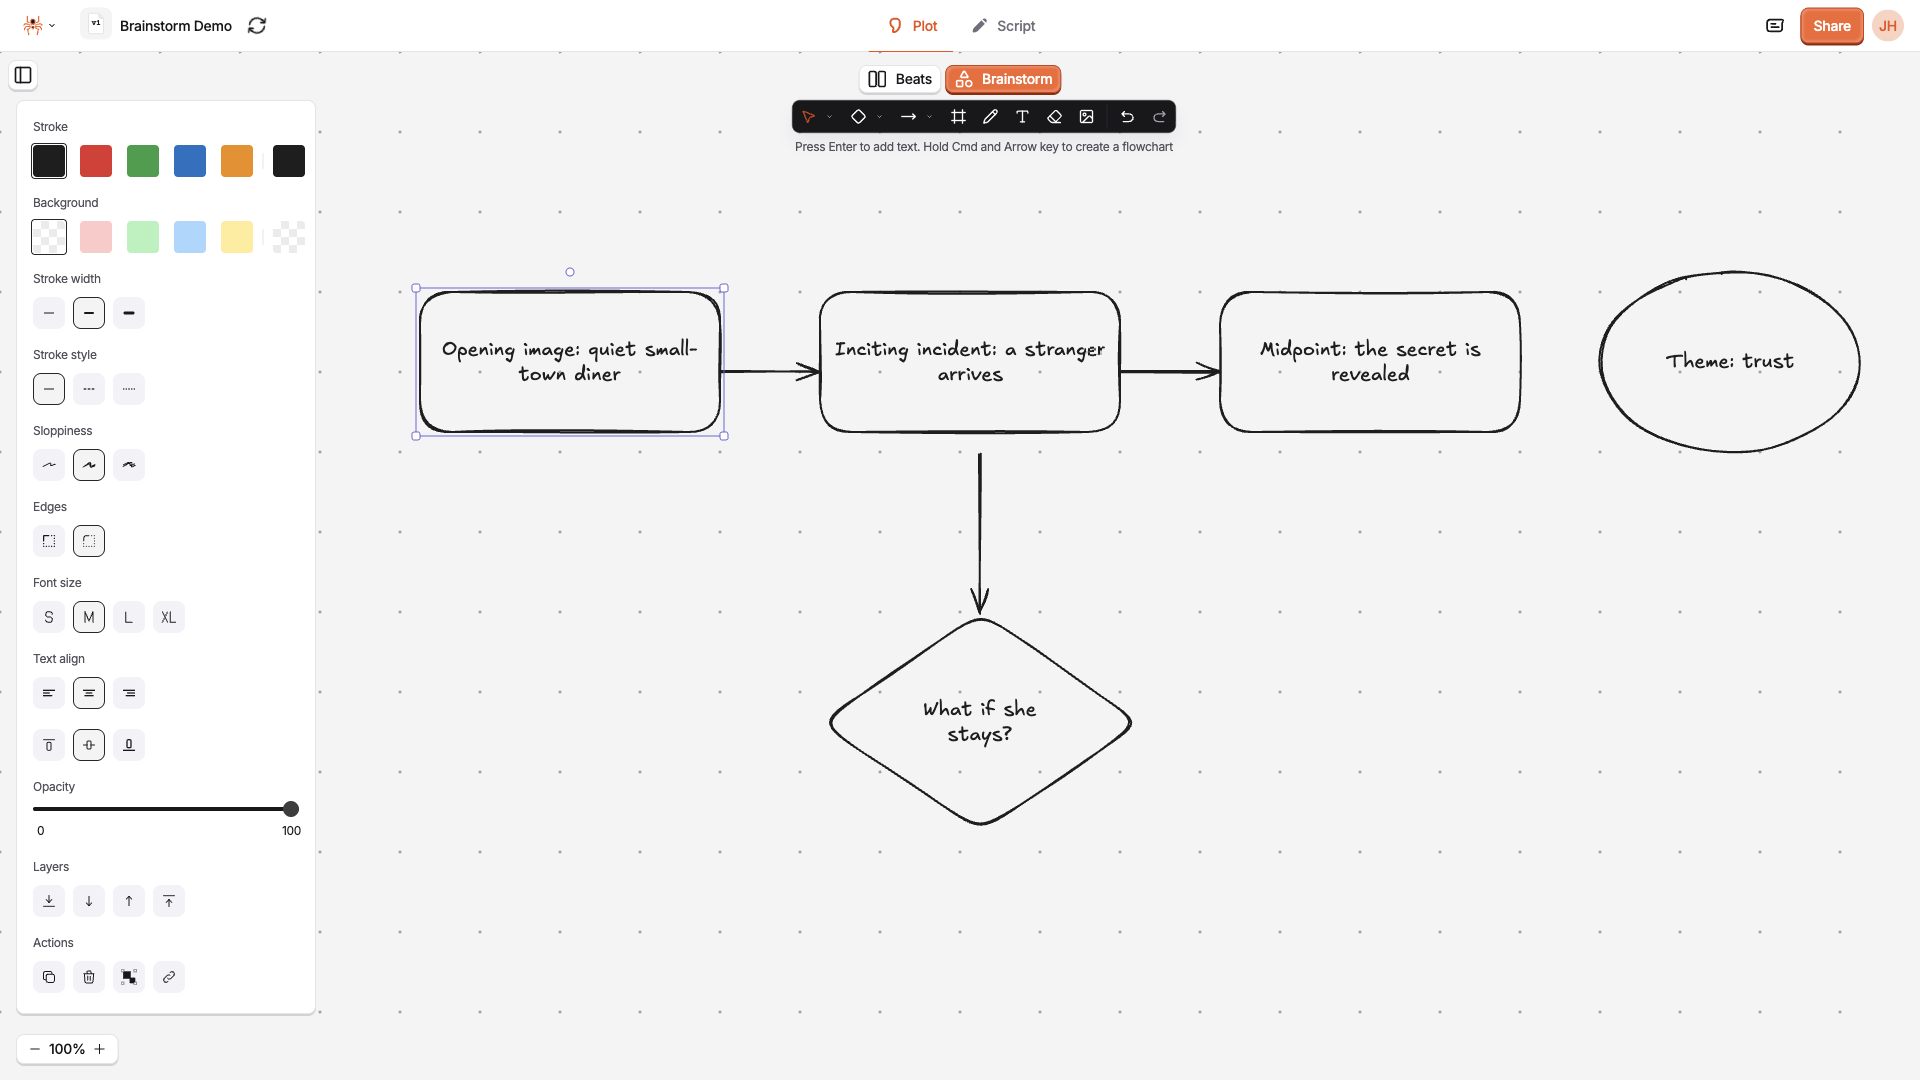
Section titled “Styling Your Ideas”Select anything on the canvas and the style panel opens on the left. Use it to change:
- Stroke and background color
- Stroke width and style (solid, dashed, dotted)
- Edges (sharp or rounded)
- Font size and text alignment
- Opacity
- Layers (send backward, bring forward, and so on)
Color is a handy way to tell ideas apart, for example one color per character or storyline.
Grouping Ideas in Frames
Section titled “Grouping Ideas in Frames”Frames help you organize a busy canvas: put the ideas for a sequence, a character, or an act in one frame so they stay together.
- Choose the Frame tool from the toolbar
- Drag a rectangle around the ideas you want to group
- Move the frame and everything inside it moves too
You can also select several items, right-click, and choose “Wrap selection in frame”.
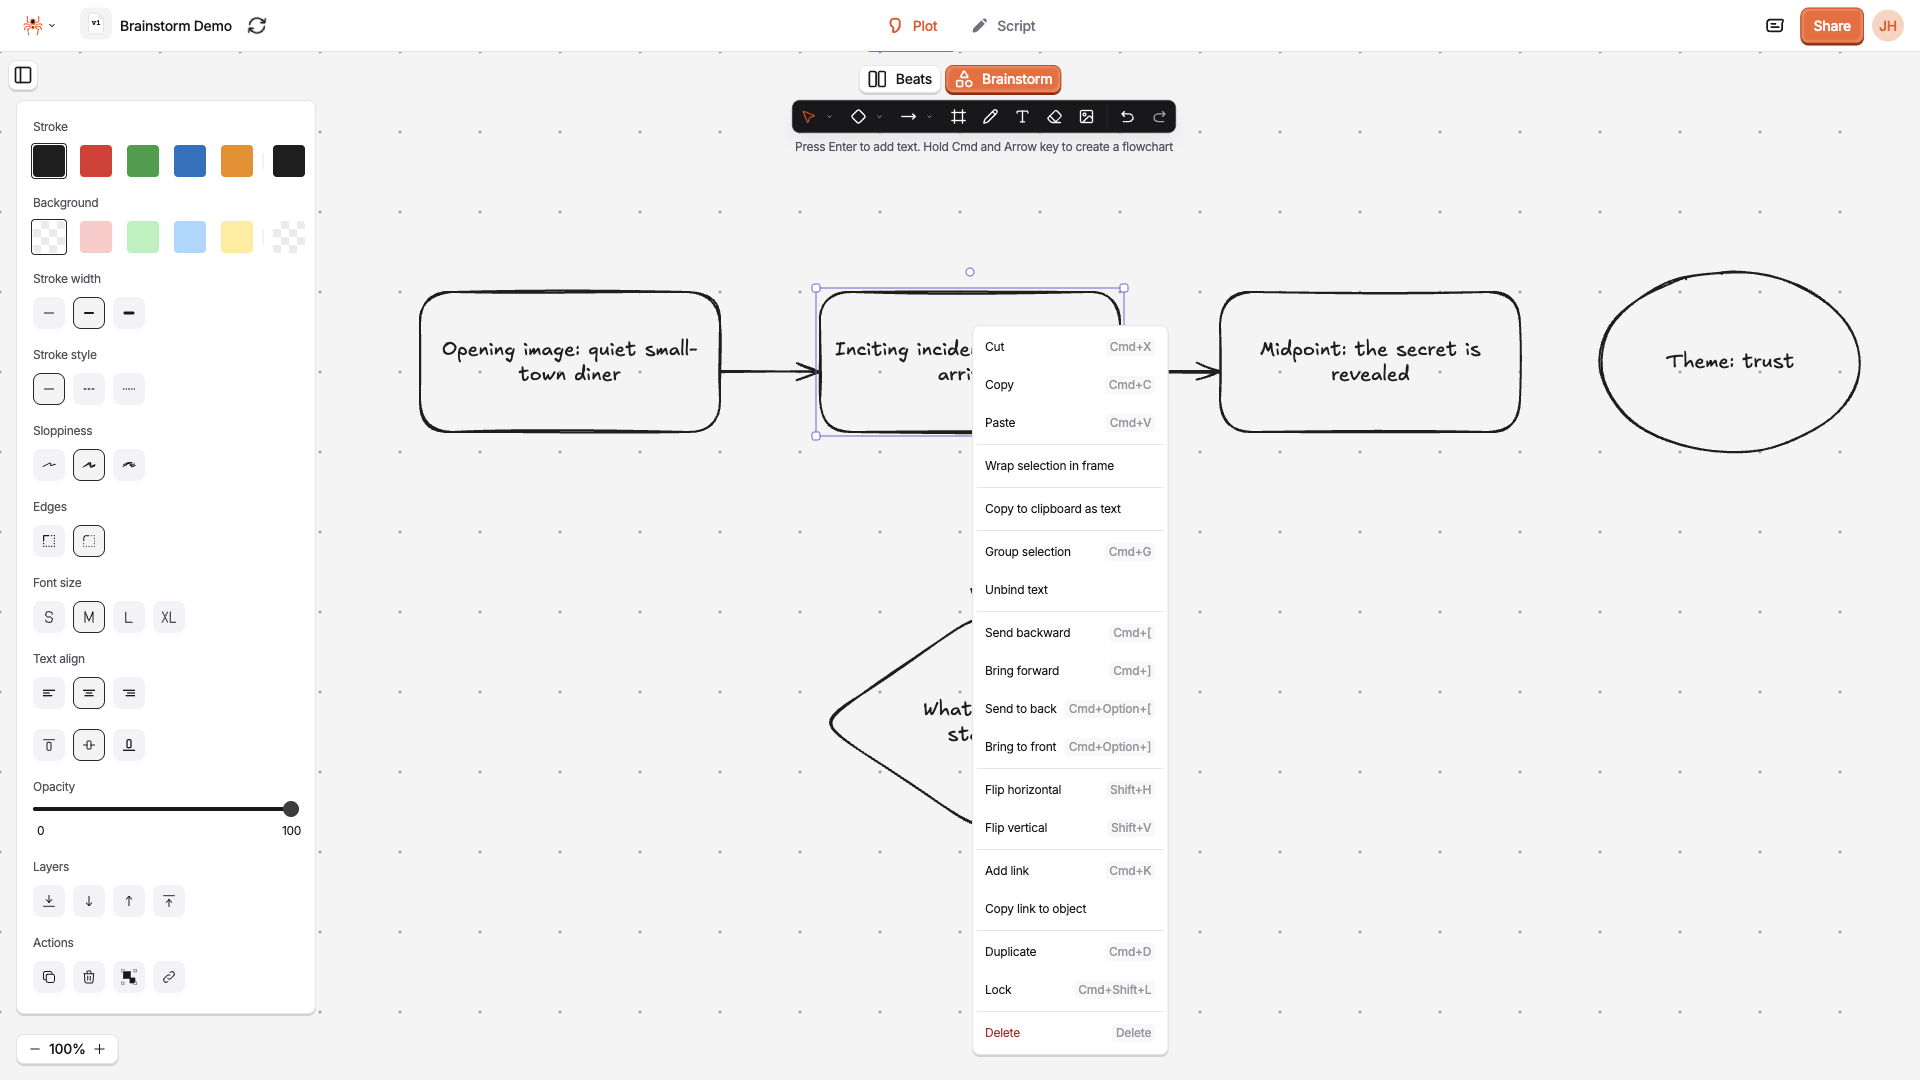
The Context Menu
Section titled “The Context Menu”Right-click anything on the canvas for more actions:
- Cut, Copy, Paste, and Duplicate
- Group selection to move several items as one
- Send backward / Bring forward, Send to back / Bring to front
- Flip horizontally or vertically
- Add link to attach a web address to an item
- Copy link to object to get a link that jumps straight to that item
- Lock an item so it can’t be moved by accident
- Delete
Linking to an Idea
Section titled “Linking to an Idea”Copy link to object gives you a link to a single card or shape. Send it to a collaborator, or attach it to another card with Add link. Opening the link takes you to the canvas and scrolls straight to that item.
Adding Images
Section titled “Adding Images”Use the Image tool, or drag and drop image files onto the canvas, to add reference images such as mood board pictures, locations, or character looks.
Bringing Handwritten Notes into Your Story
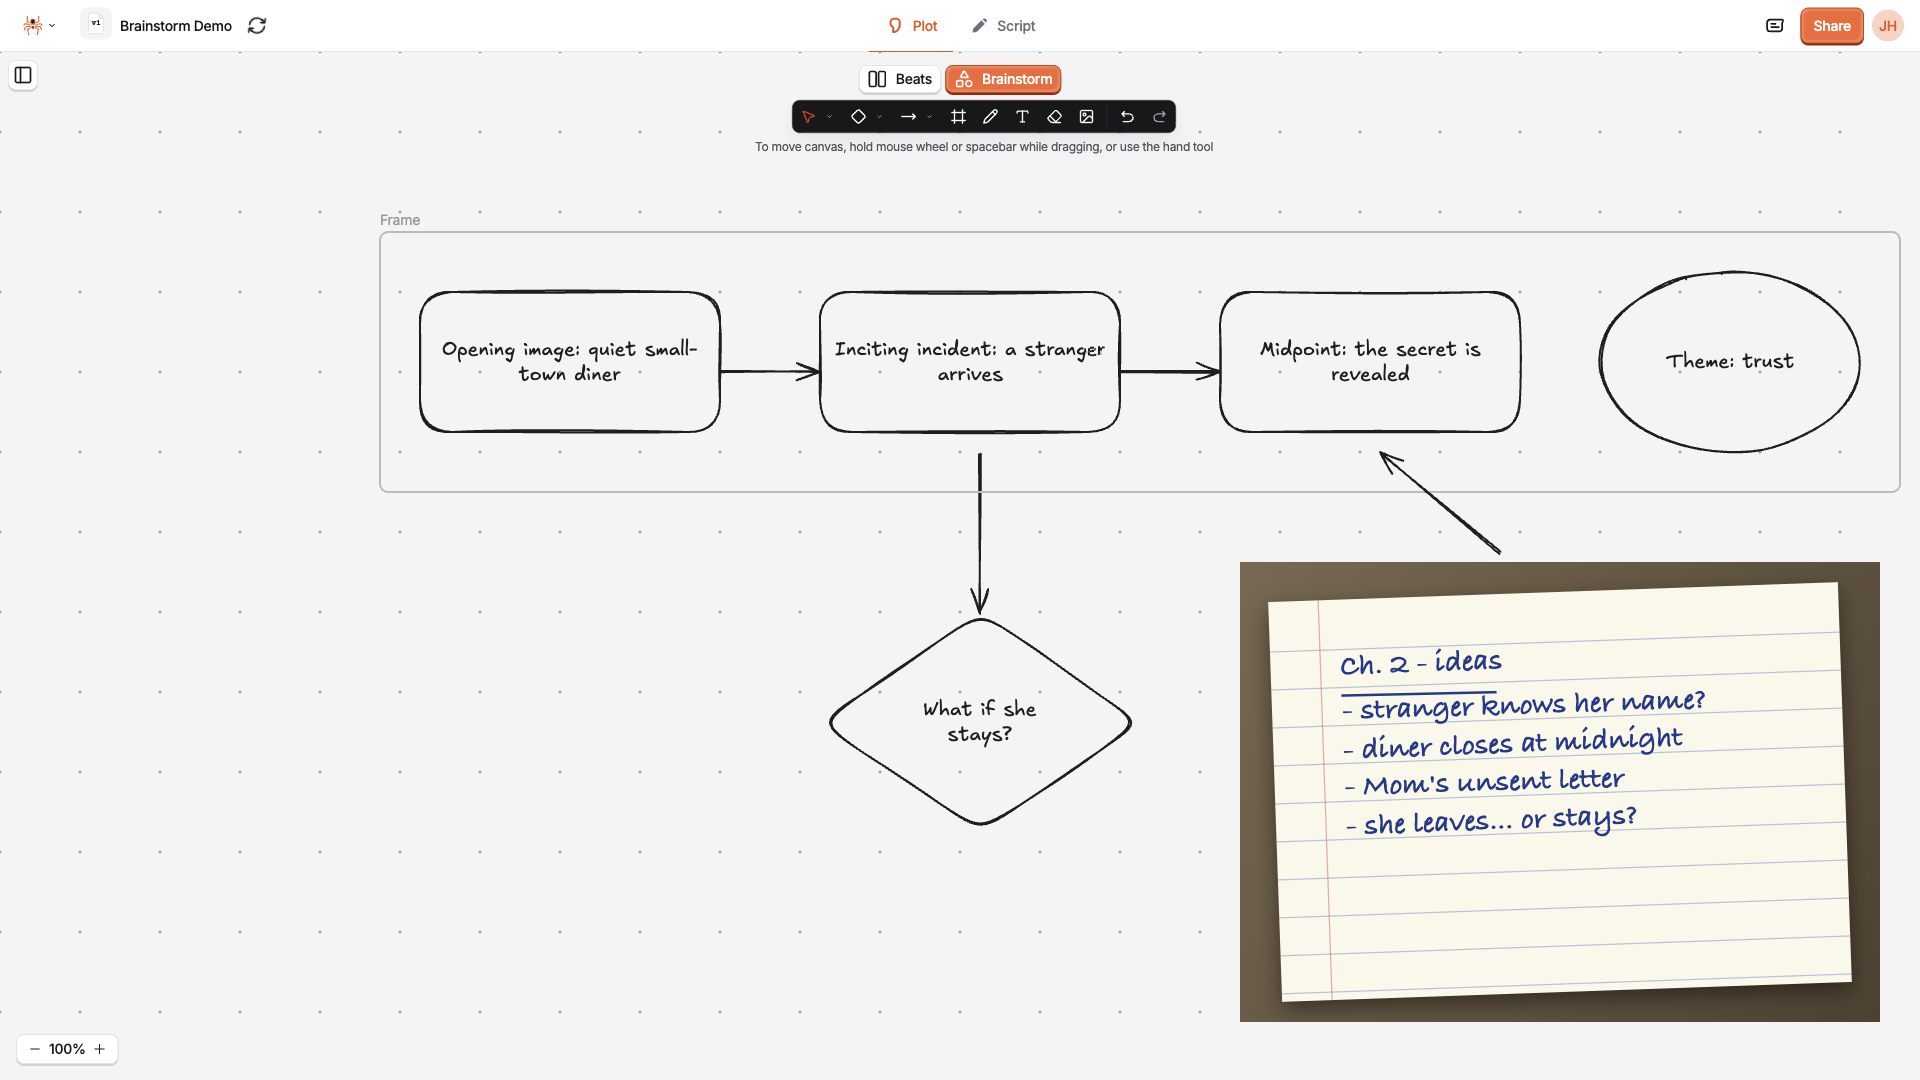
Section titled “Bringing Handwritten Notes into Your Story”The Image tool is also a way to keep your written notes close to the story. Not every idea starts on a screen: notebook pages, index cards, sticky notes, and whiteboard sketches often hold the best ones.
- Take a photo of your notes with your phone or camera
- Add the photo to the canvas with the Image tool, or drag it in
- Place it next to related ideas, connect it with an arrow, or put it in a frame with the cards it belongs to
Now your handwritten notes sit beside the rest of your story work instead of in a drawer.
Images count toward your storage. If you reach your storage limit, Jujukraft shows “Maximum storage limit reached” and the image isn’t added.
Moving Around the Canvas
Section titled “Moving Around the Canvas”The canvas is as large as you need it to be.
- Pan: hold the spacebar or the mouse wheel while dragging, or use the Move (hand) tool
- Zoom: use the zoom controls at the bottom left, or pinch / scroll while holding Cmd (Ctrl on Windows)

Keyboard Shortcuts
Section titled “Keyboard Shortcuts”| Action | Shortcut |
|---|---|
| Selection | 1 |
| Rectangle | 2 |
| Diamond | 3 |
| Ellipse | 4 |
| Arrow | 5 |
| Line | 6 |
| Move (hand) | H |
| Laser pointer | K |
| Frame | F |
| Group selection | Cmd+G (Ctrl+G on Windows) |
| Add link | Cmd+K (Ctrl+K on Windows) |
| Duplicate | Cmd+D (Ctrl+D on Windows) |
| Back to selection tool | Esc |
Collaborating
Section titled “Collaborating”The Brainstorm canvas is collaborative, just like the rest of your project:
- Changes sync live: everyone with access to the project sees ideas appear as you add them
- See who’s here: when several people have the canvas open at once, you can see each other’s cursors
- Invite people with the Share button. See Public Sharing for details
Backing Up Your Canvas
Section titled “Backing Up Your Canvas”Your Brainstorm canvas is included when you export a JKJ file, so it’s saved alongside your script and beats. PDF and FDX exports only carry the script.
Best Practices
Section titled “Best Practices”- Start messy: get ideas down first, organize later
- One idea per card makes it easier to move things around
- Use color to separate characters, storylines, or themes
- Use frames to group related ideas as the canvas fills up
- Move ideas to the Beat Board once they’re solid enough to become beats
Next Steps
Section titled “Next Steps”- Turn your best ideas into story beats
- Learn how to share your project with collaborators